


Campaign's Over! Time for: FULFILLMENT!
It's over... now what??


One of the more daunting things…
…after your campaign ends successfully, is figuring out how to go about fulfillment. Obviously, you have to produce the work for which you ran a crowdfunding campaign, so let’s assume you’ve handled that. All of your various rewards, stretch goals, and other items are in-hand ready for delivery.
So, now you need to get these goodies into the hands of your Backers. In this post we’ll explore FREE ways to organize and sort your Backers for delivery and help you efficiently pack, ship, and fulfill!
(Apologies, as this is specific to Kickstarter. Zoop handles a lot of this for you, but the backer export report they provide can be handled in much the same way as below when I get into formatting the spreadsheet.)
First things first
Download your Backer Report(s) from Kickstarter. For the uninitiated here are the steps below. If you already know how to do this you can probably skip to the next header, but it’ll be brief so read on if ya like.
Login to your Kickstarter account and click on your profile icon in the upper-most right corner of the web browser (you cannot do this in the mobile app). A window will drop down:

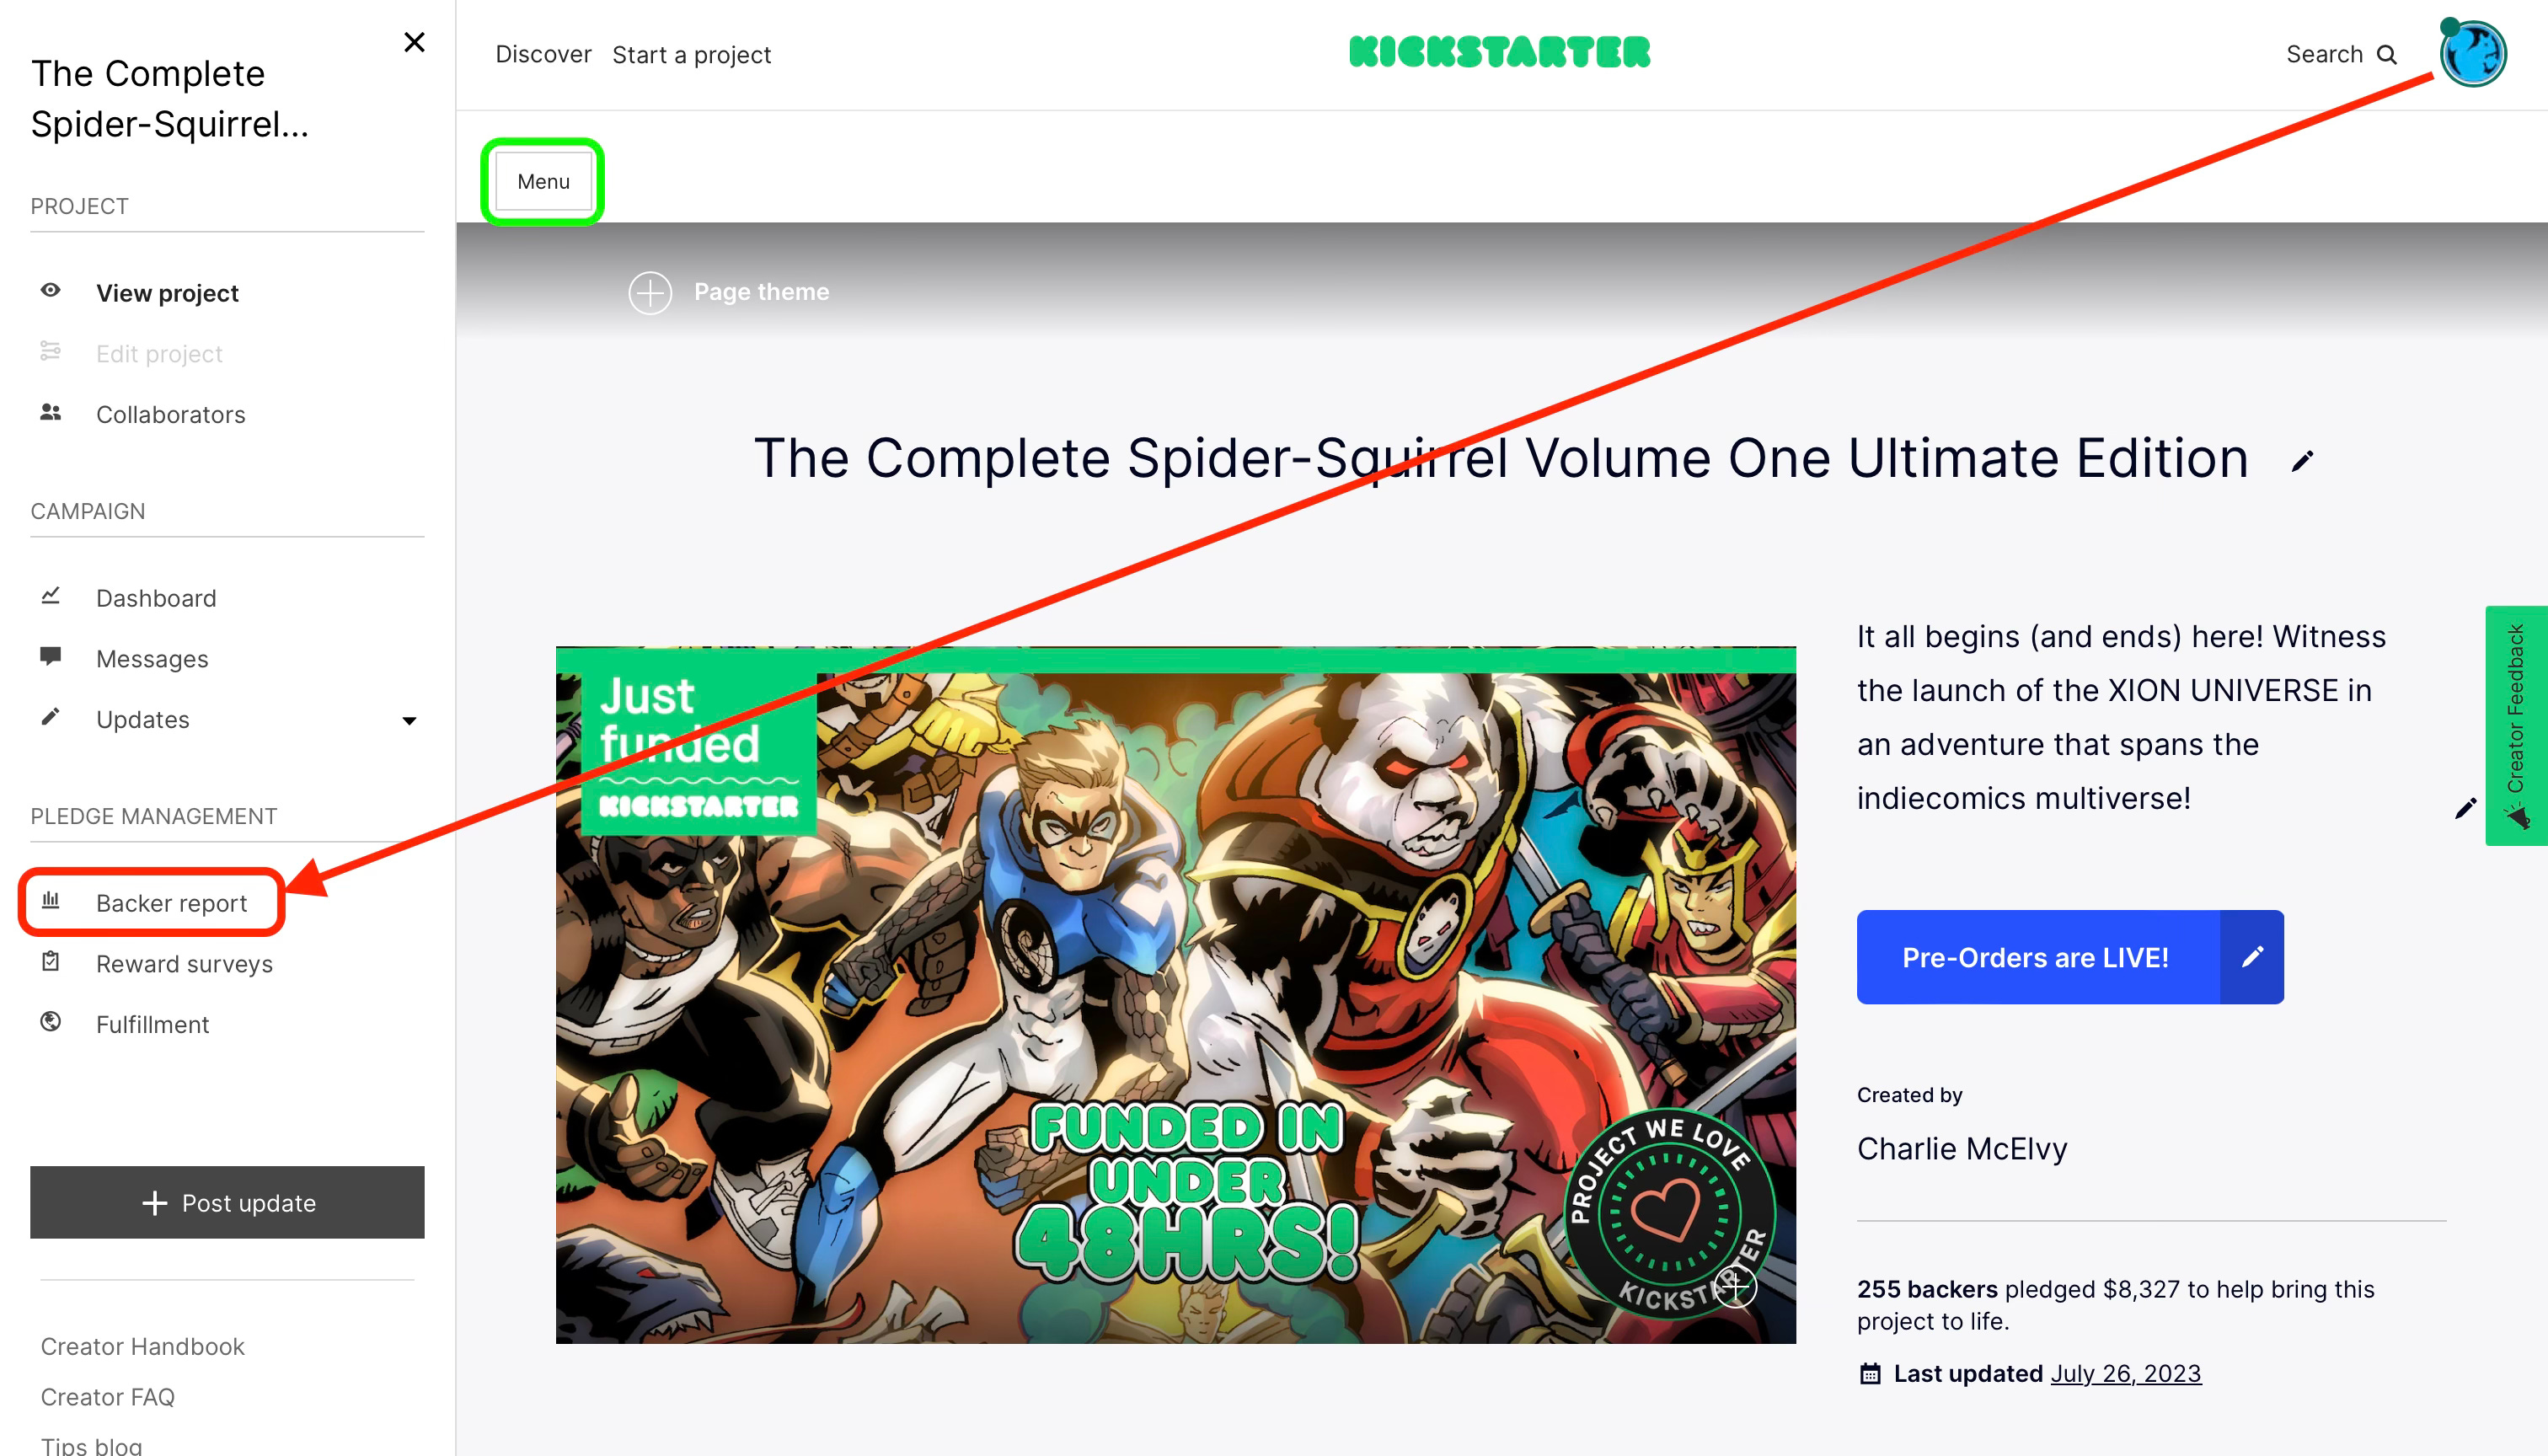
From here you can access your Created Projects in the far-right column. I’m going to select one of my completed campaigns. Once there, the left pane should be open, but if not, click “Menu” at the top-left. When you have it open, click “Backer report” about 2/3 the way down the menu options, under “PLEDGE MANAGEMENT”
On the next screen you can see your Backers, message them, sort by name, date backed, amount backed, Reward Tier, and so on. Not gonna worry about that right now, we’re just going to the point of this post: your Backer Report.
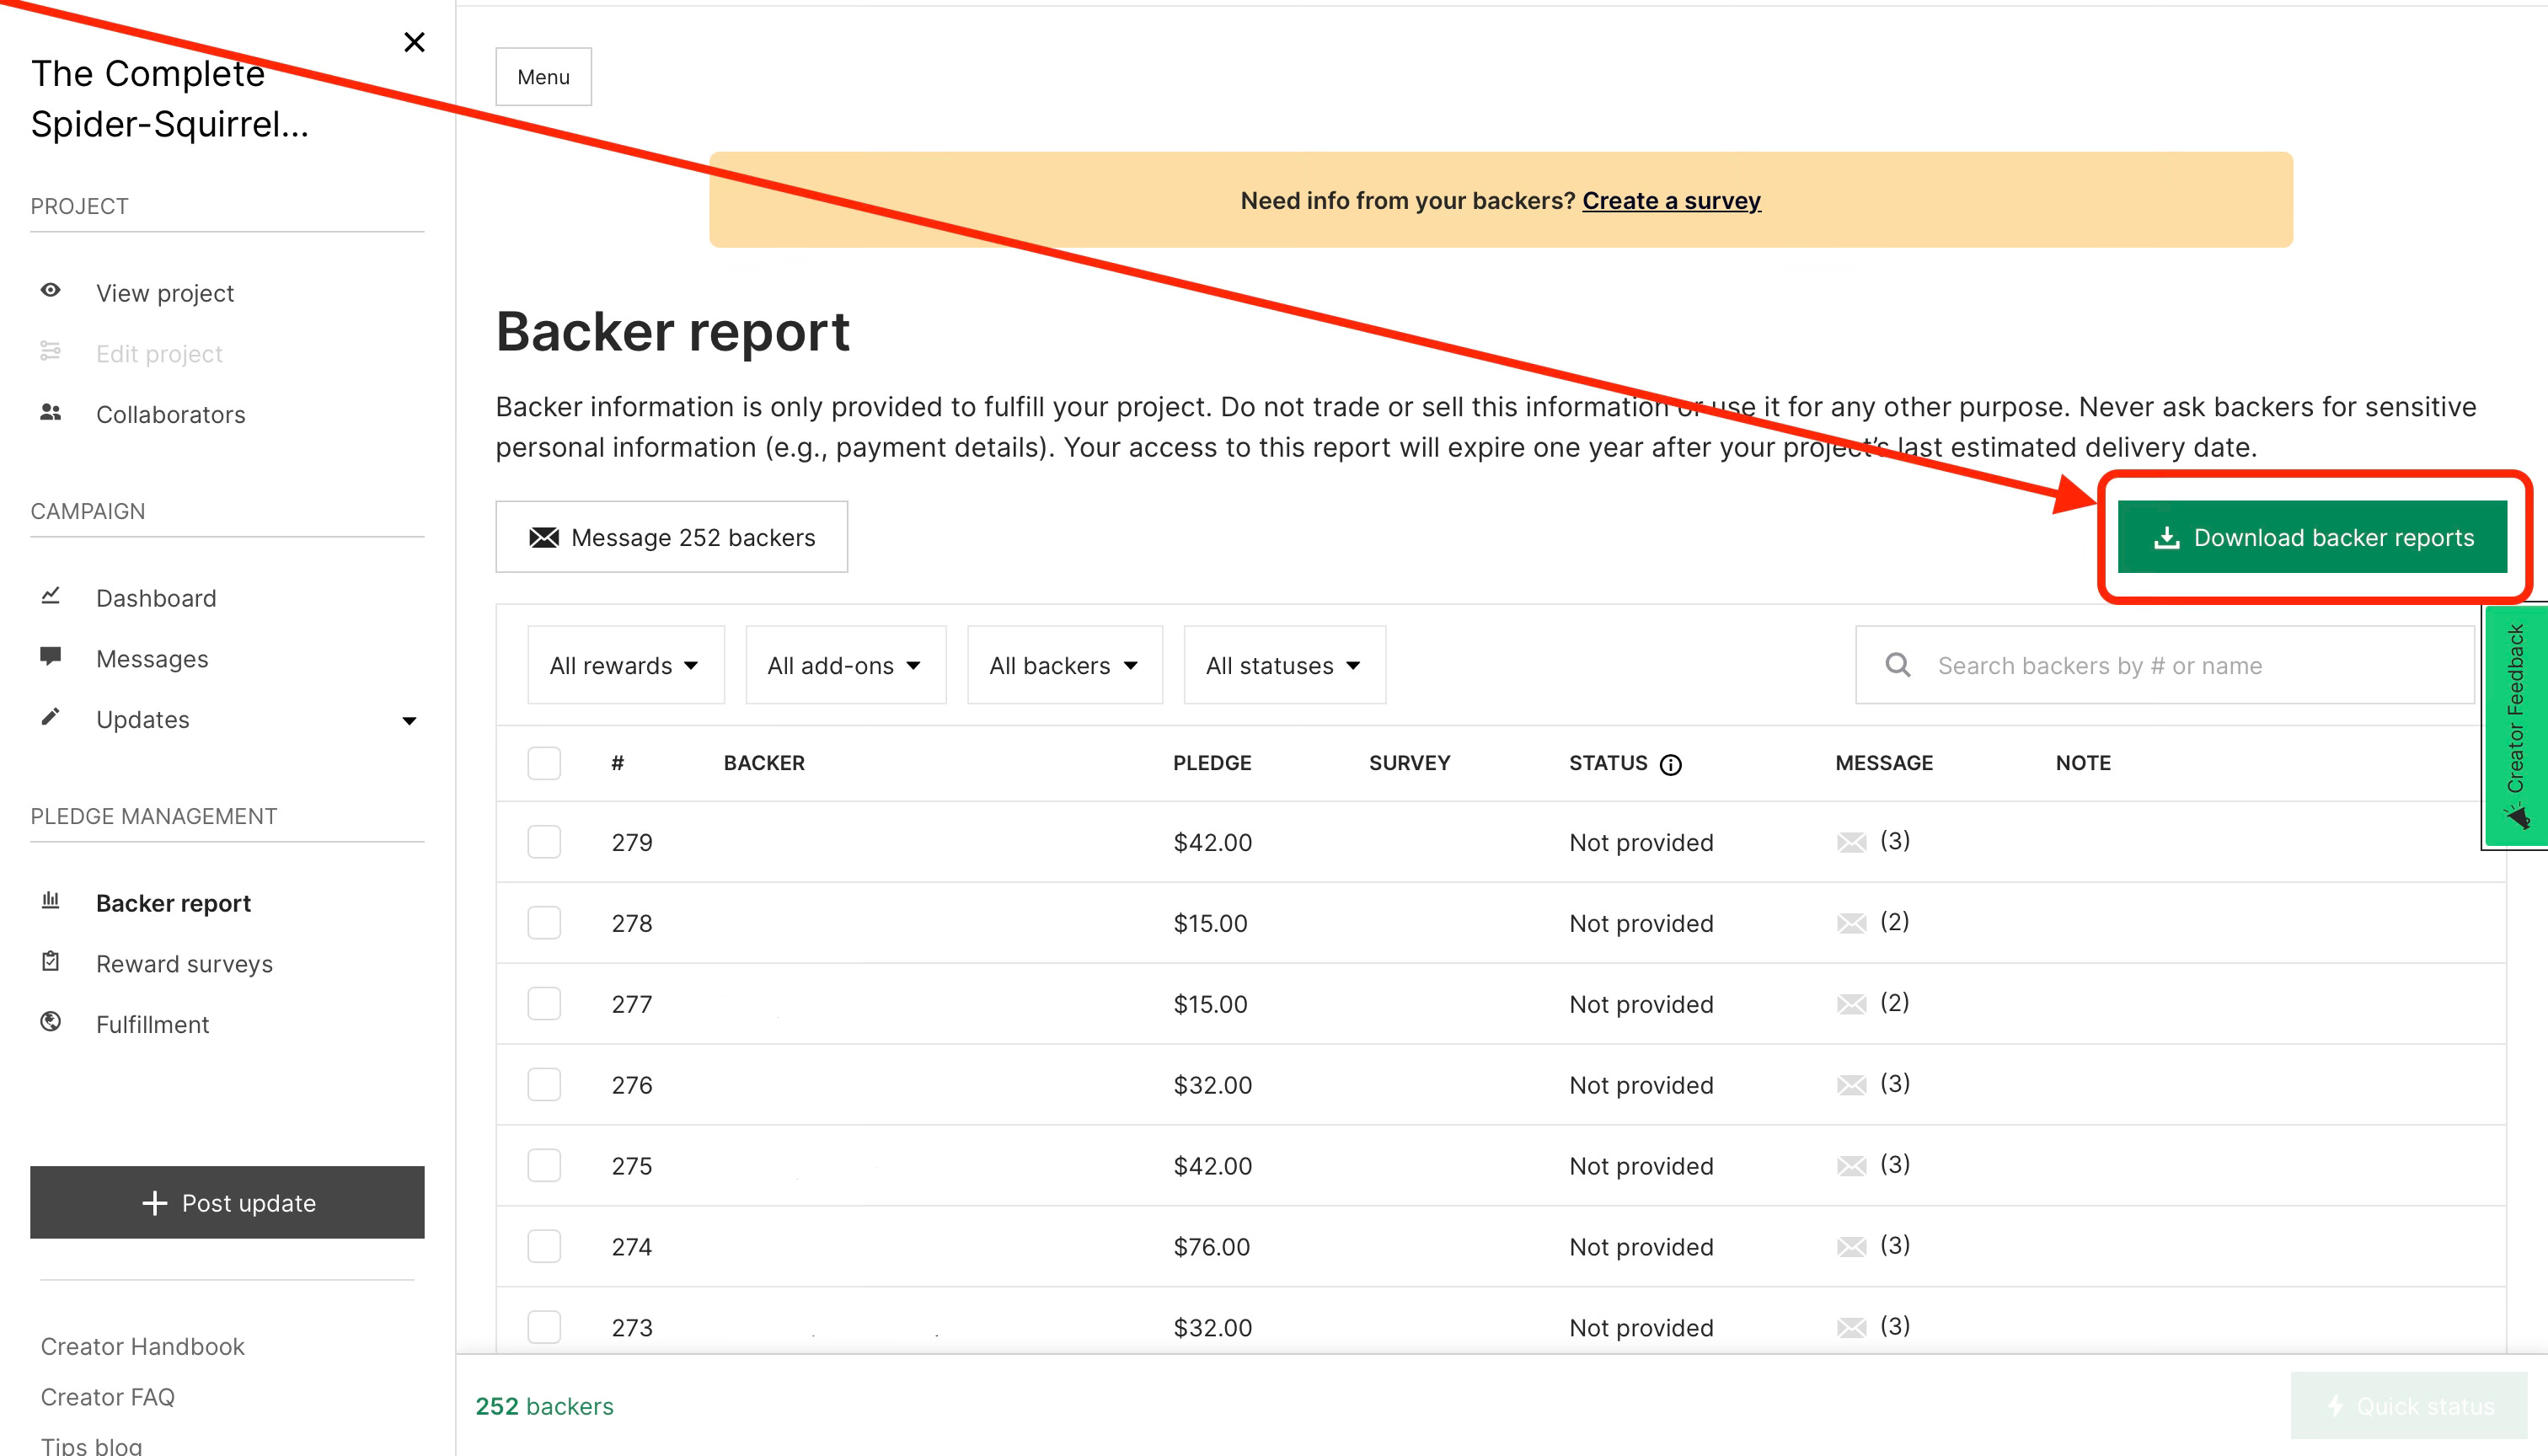
Click that and a pop-up window asks you a couple of questions before supplying the output.
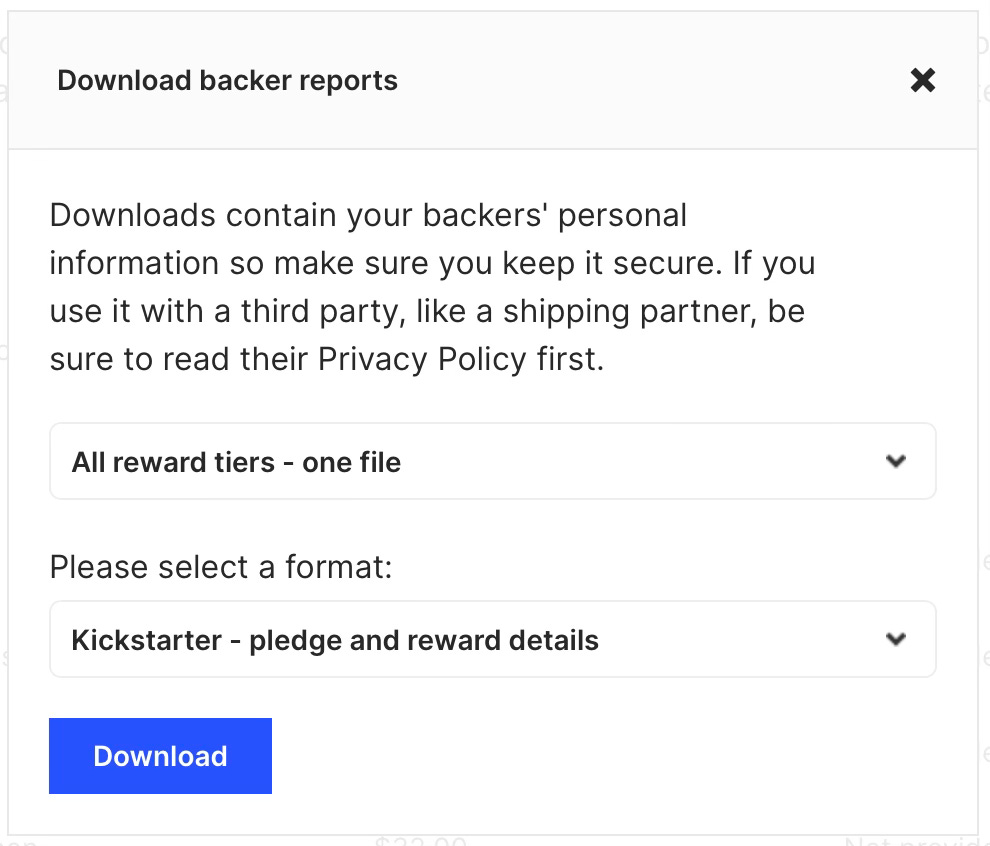
For now, just leave the defaults. Later I’ll explain ways to use the other options in the same manner. This default setting will give you a CSV (comma-separated values) file that you can import into Microsoft Excel, Apple Numbers, or Google Sheets. I’m going to demonstrate with Google Sheets because it’s the one free option on that list, but what I do here you can easily do (and more) with Excel or Numbers (I actually use Excel, for my own purposes). After waiting a few short moments, you’ll get the option to download…
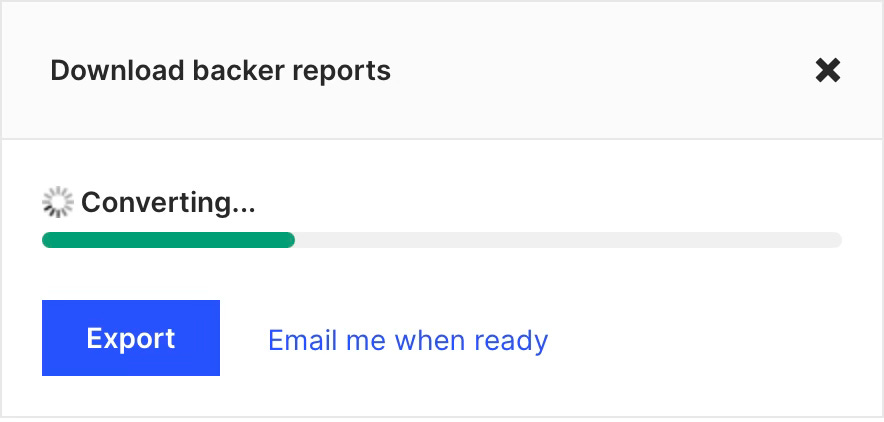
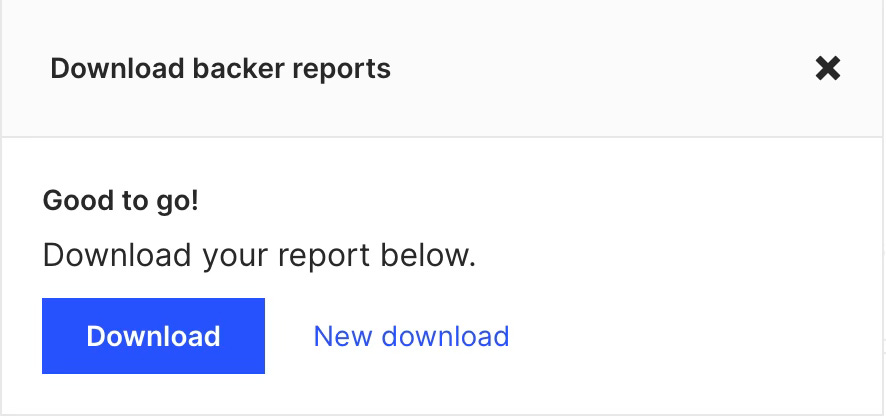
Download, obviously, and you’ll find your CSV file ready for you in a matter of seconds.
Now we can focus on building your fulfillment tracker!
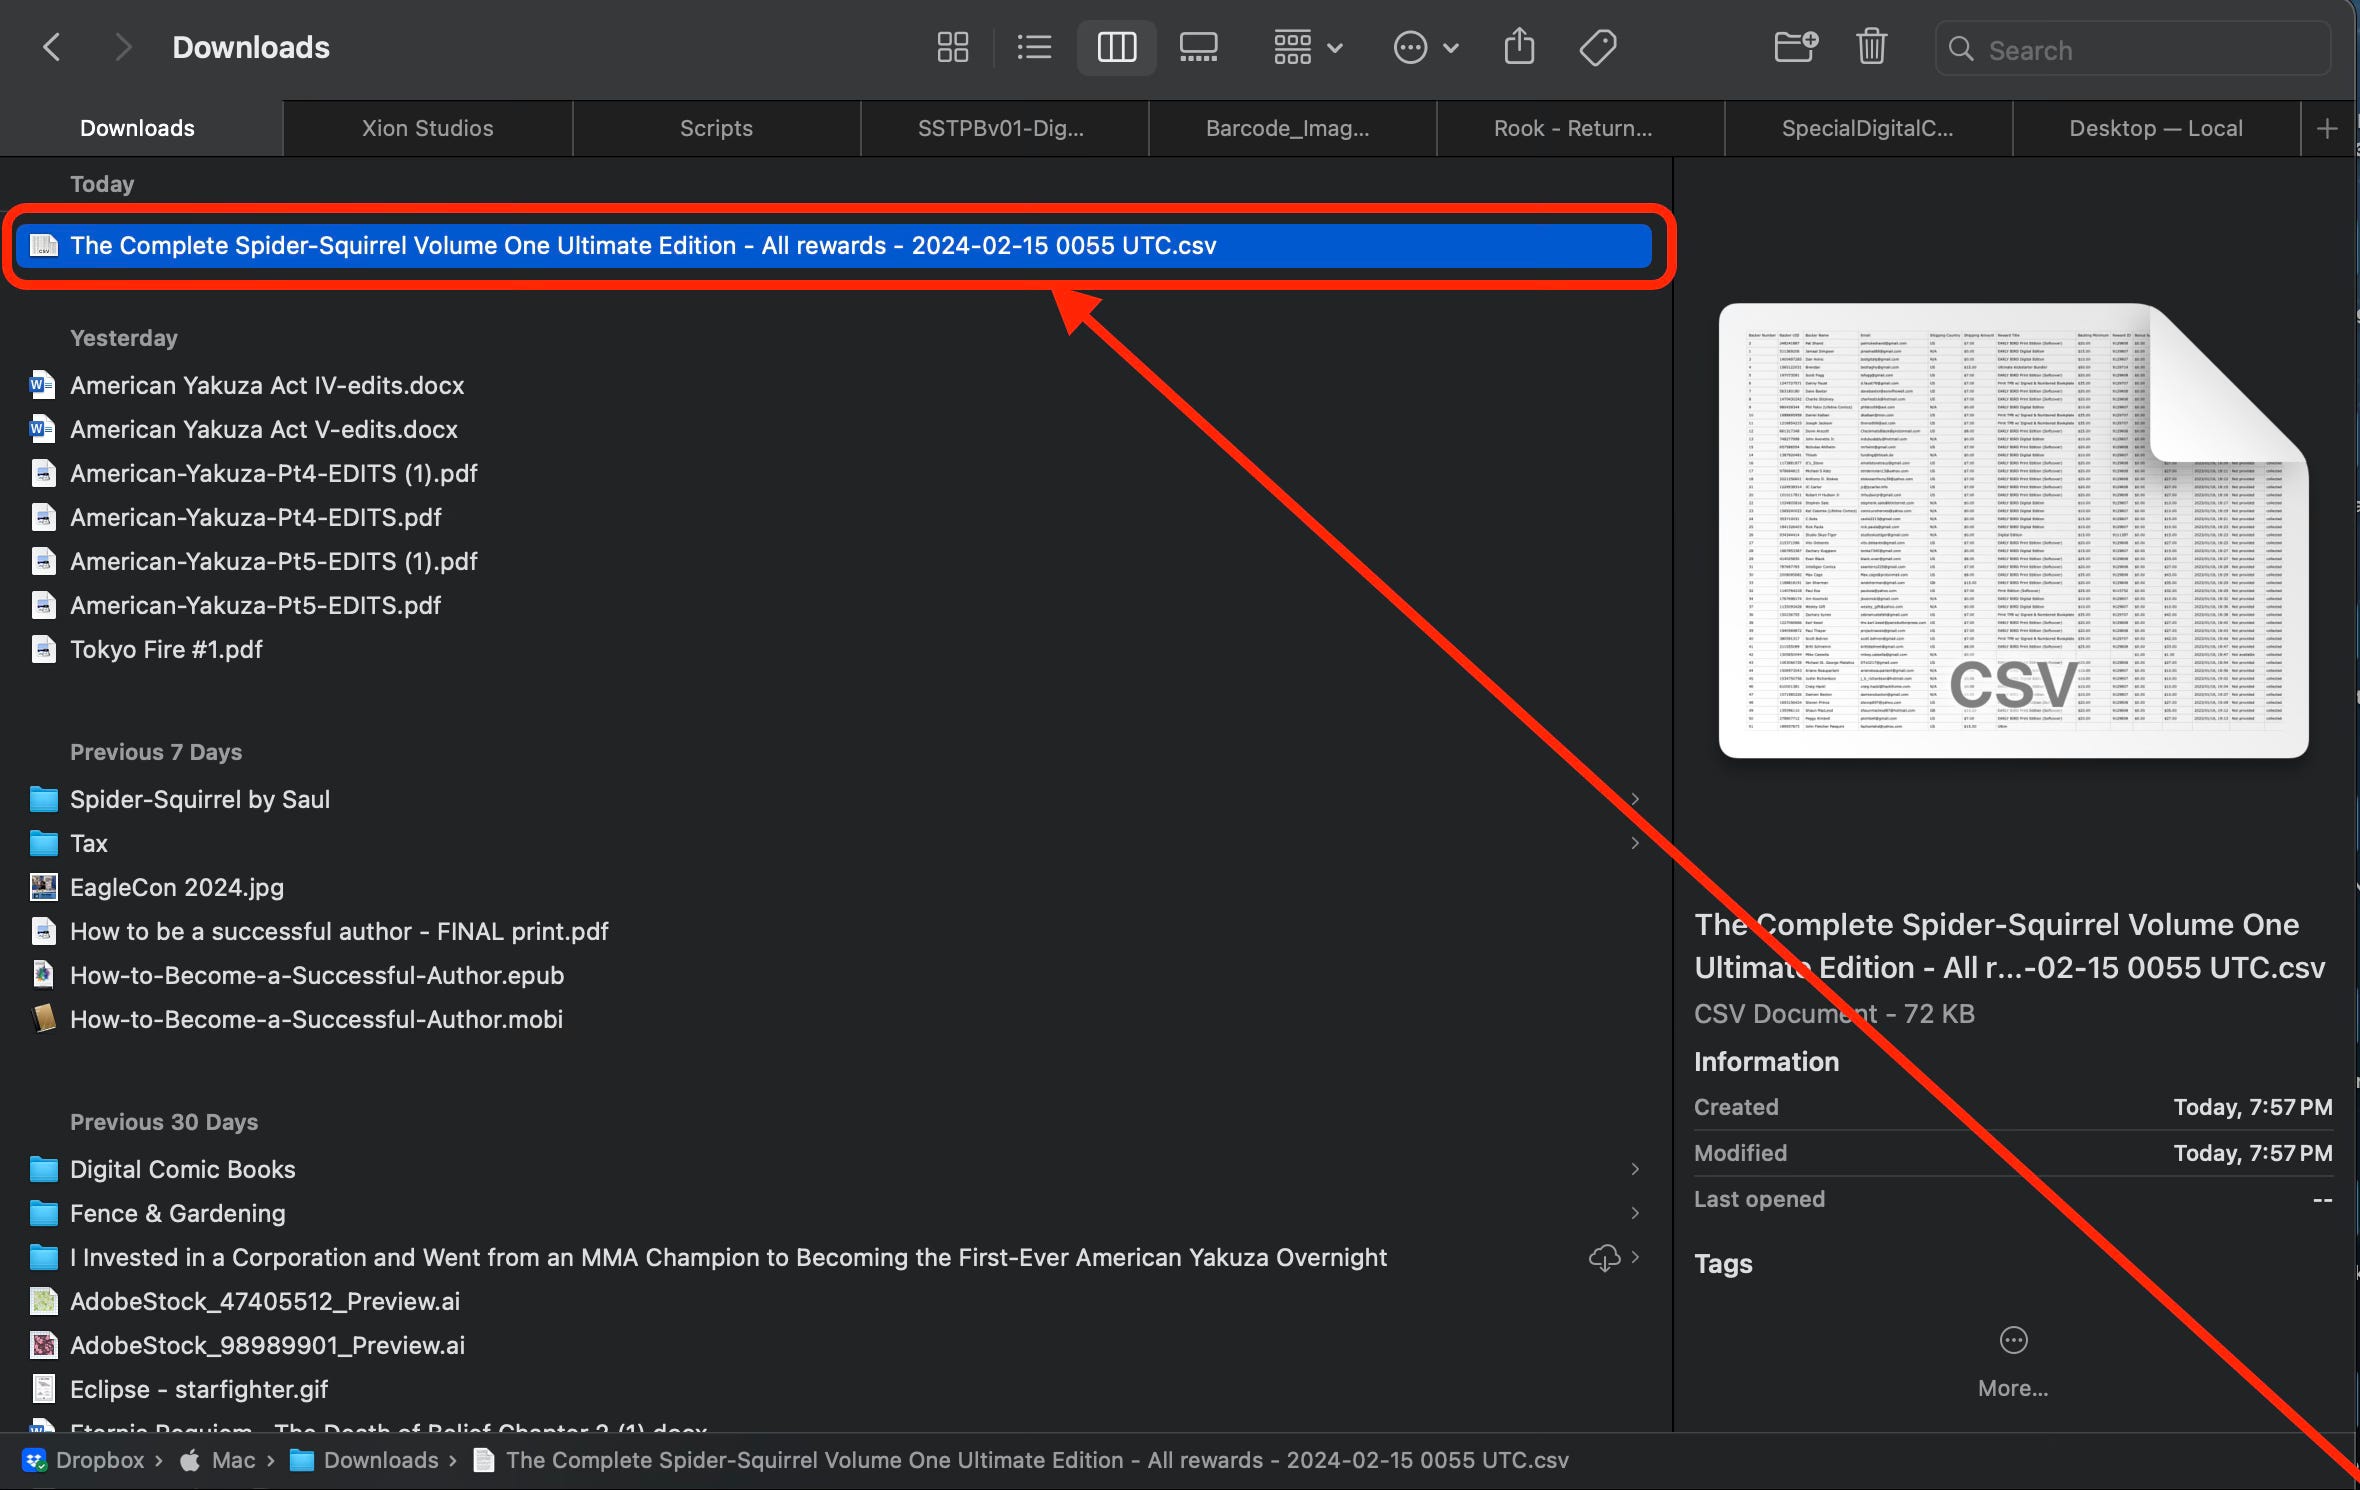
Create a new Google Sheet by going to your Google Drive and clicking “+NEW” button in the top-right. Choose File Upload and then navigate to your Downloads directory on your computer (or, wherever you saved your CSV). Choose the CSV and when it’s done importing, you can click the filename at the bottom-right and tell Google to open with Google Sheets.
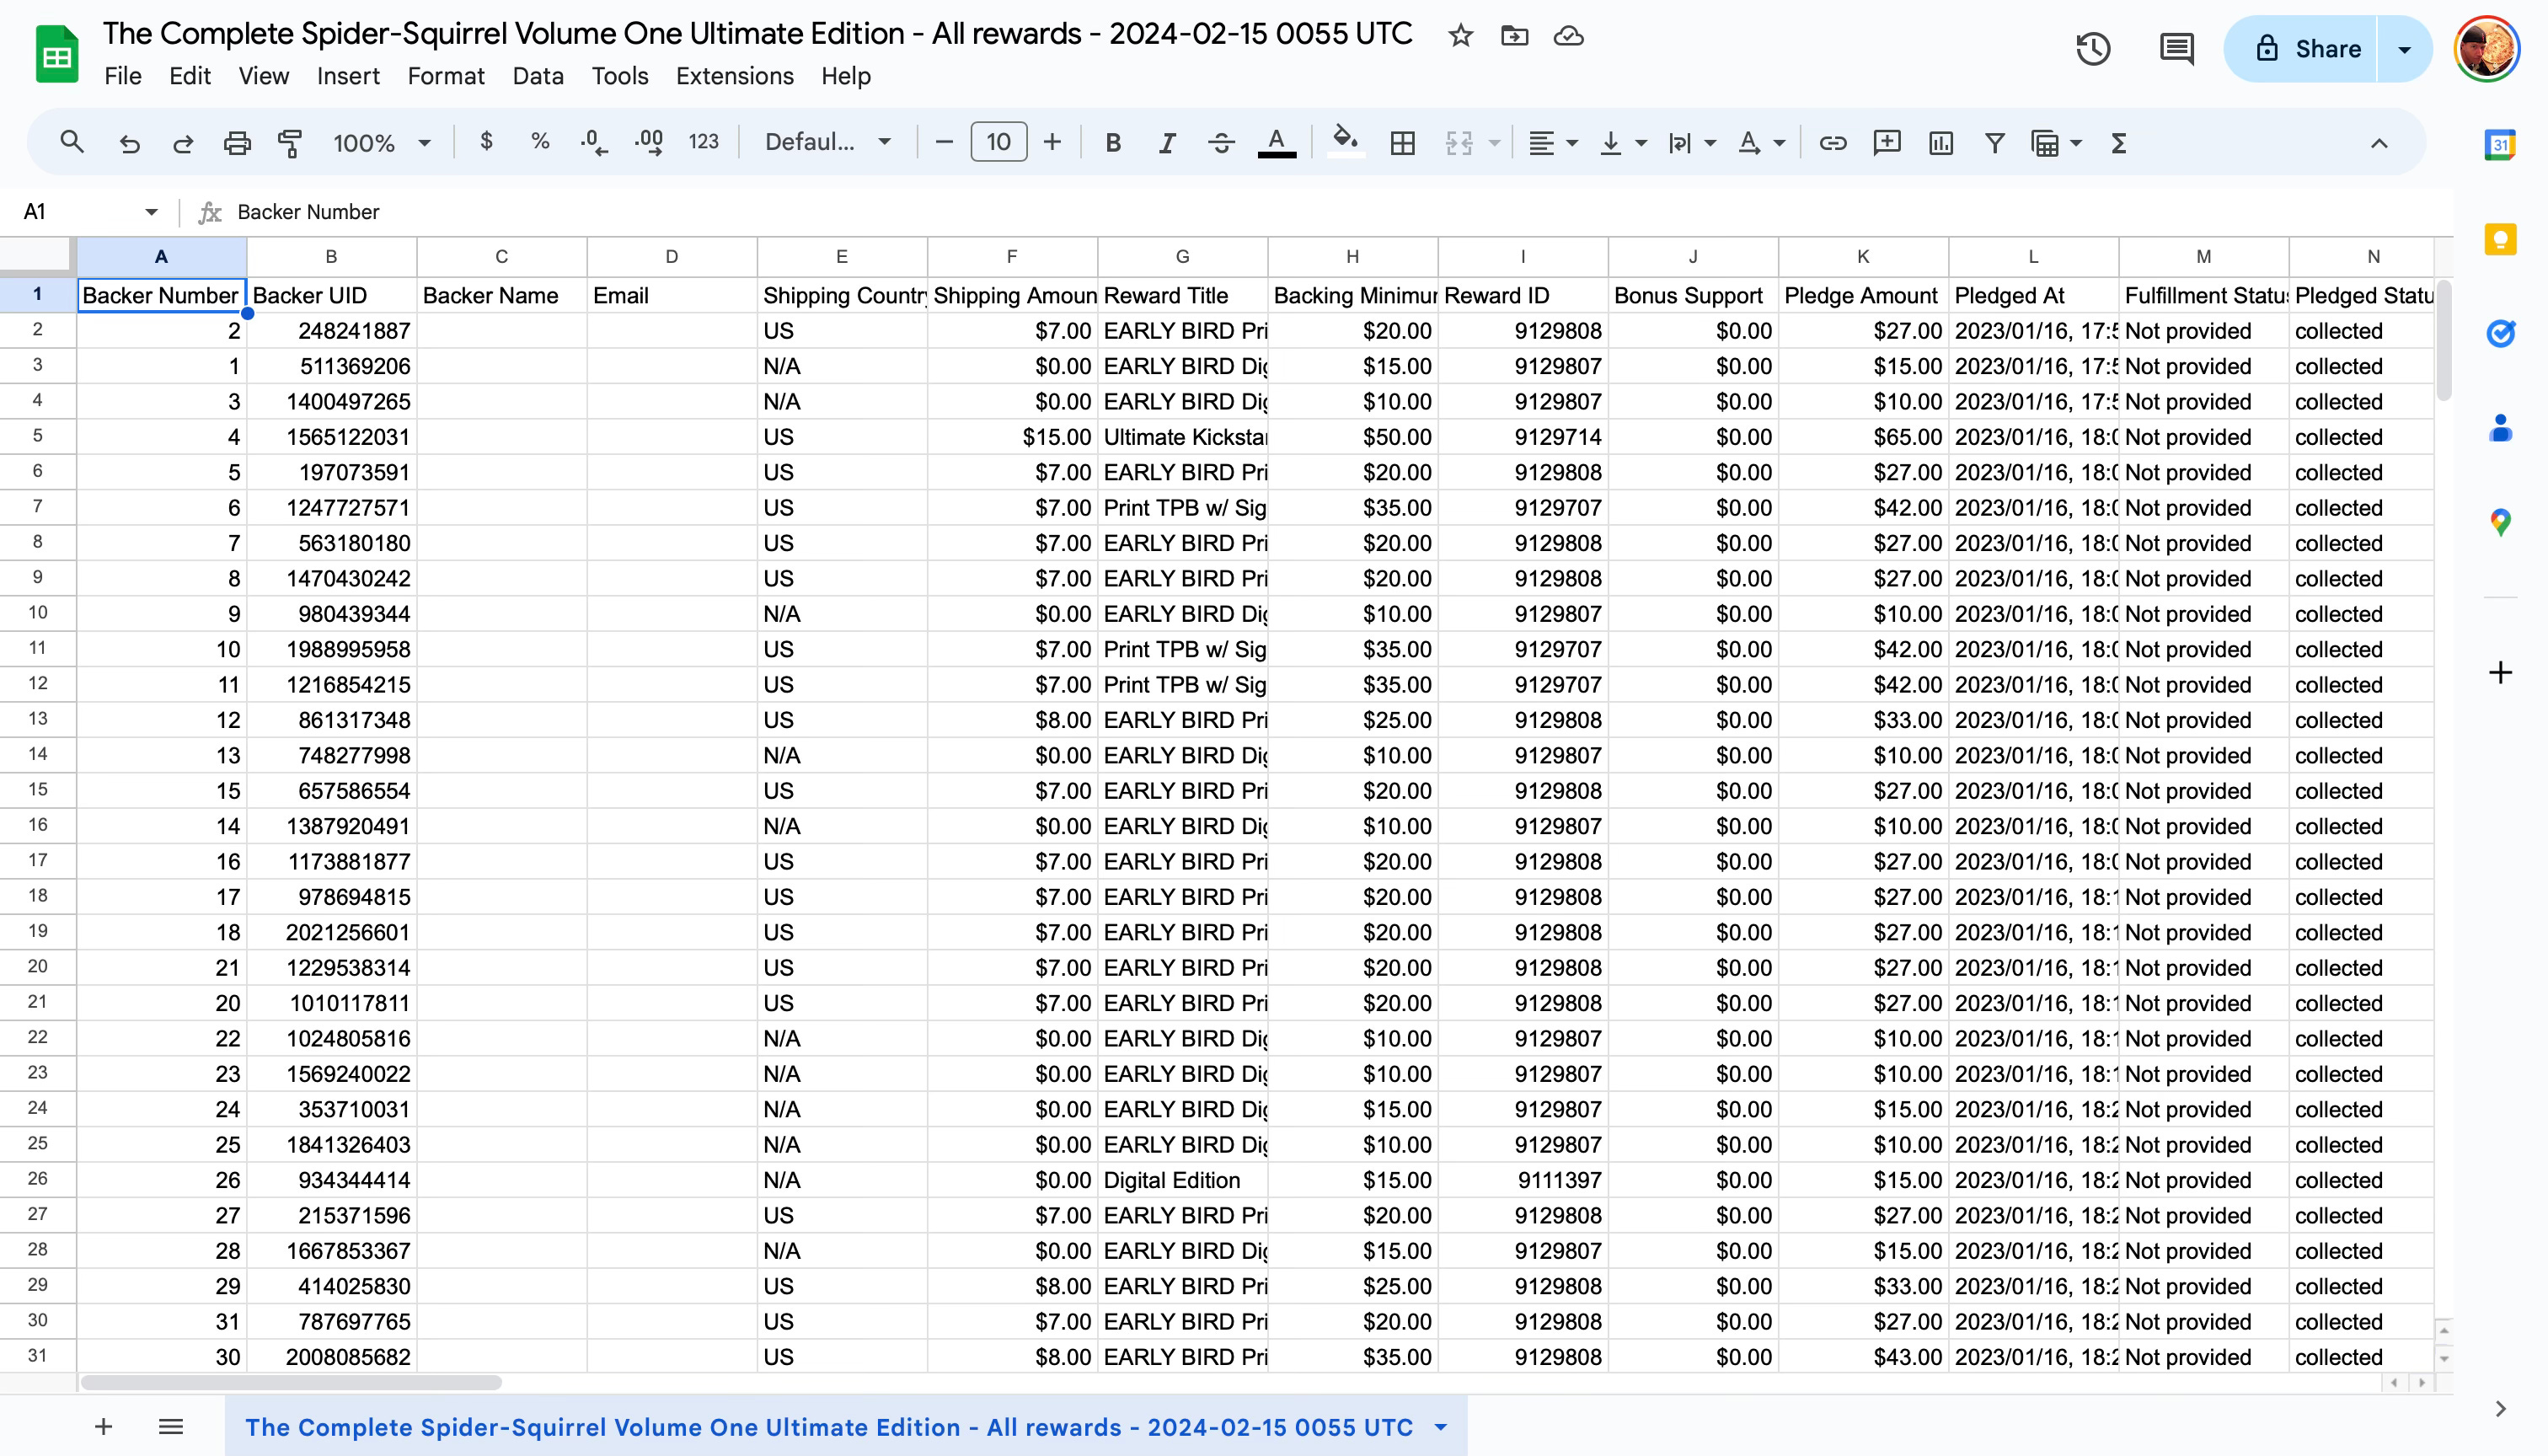
Now, once you have this open, it’s a mess. I do some quick, basic formatting to make my life easier, such as deleting (or hiding) unnecessary rows (do you really care what the Backer UID is??), you may not need the Country column, either, since you’ll have that in the address section at the far-right of the worksheet. I also hide Reward ID, Pledged At, and a few other columns that are just in my way.
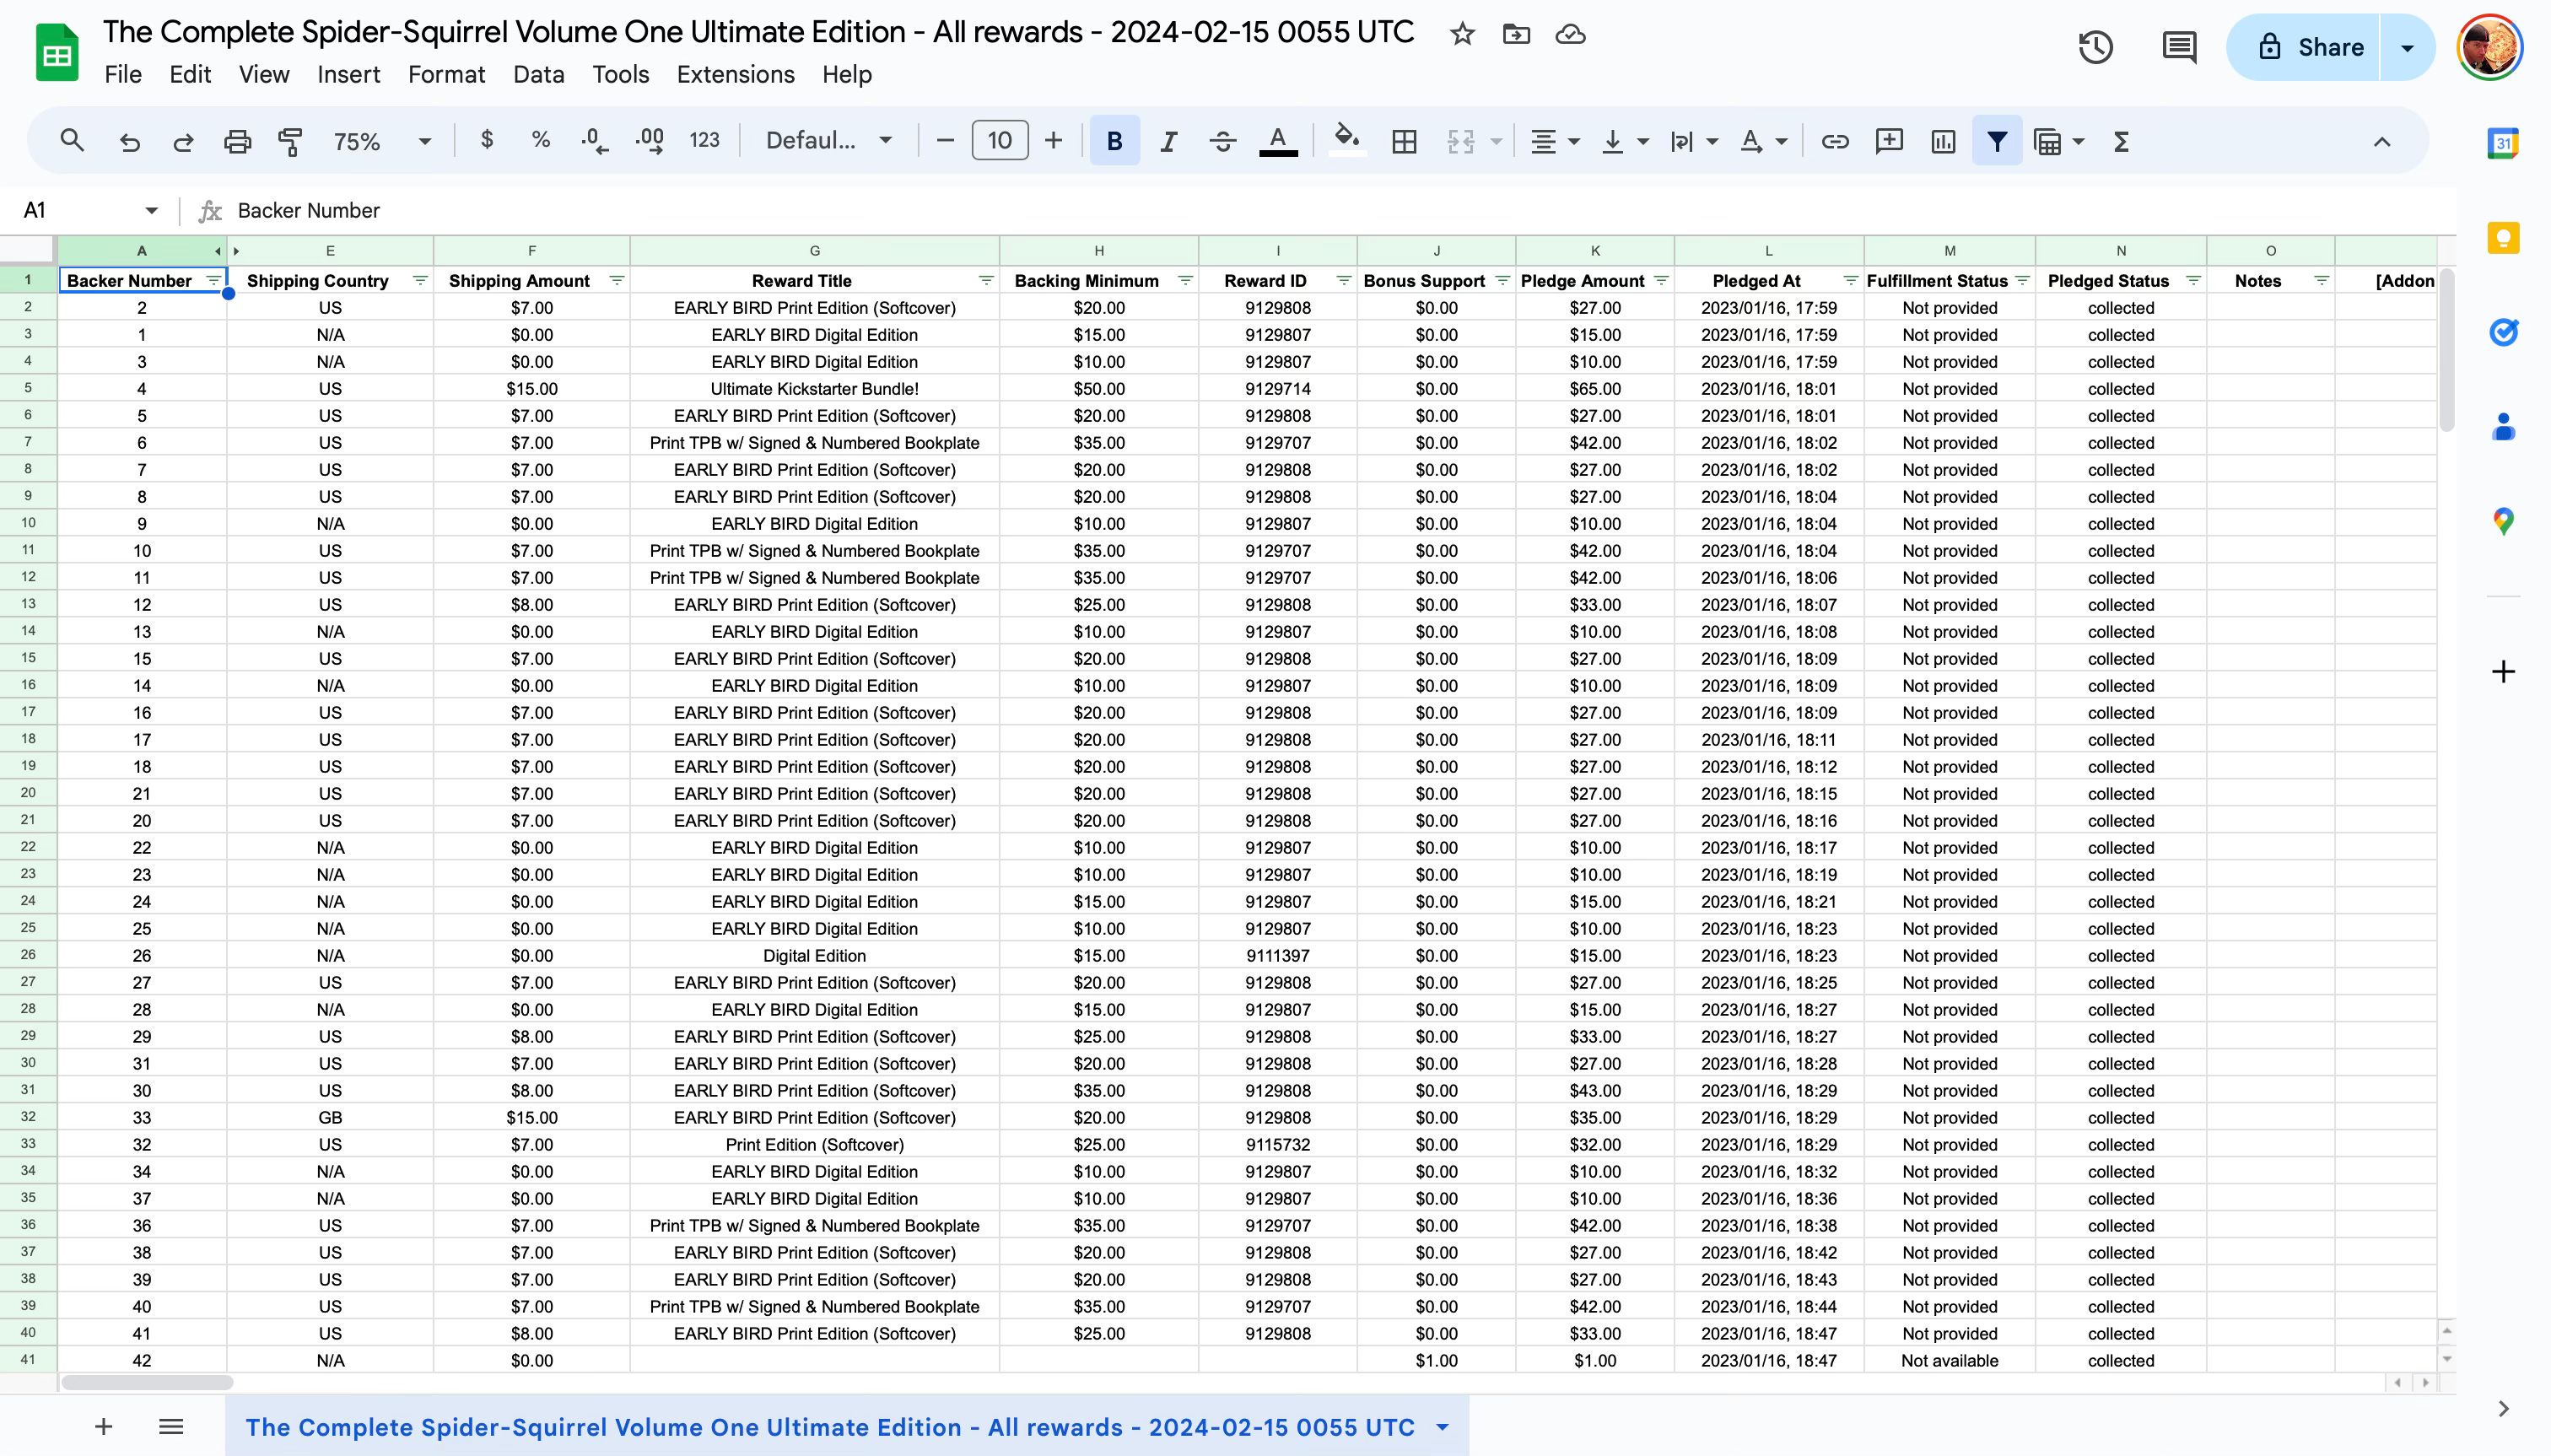
Then I usually bold the column titles and add a filter to them so I can sort!
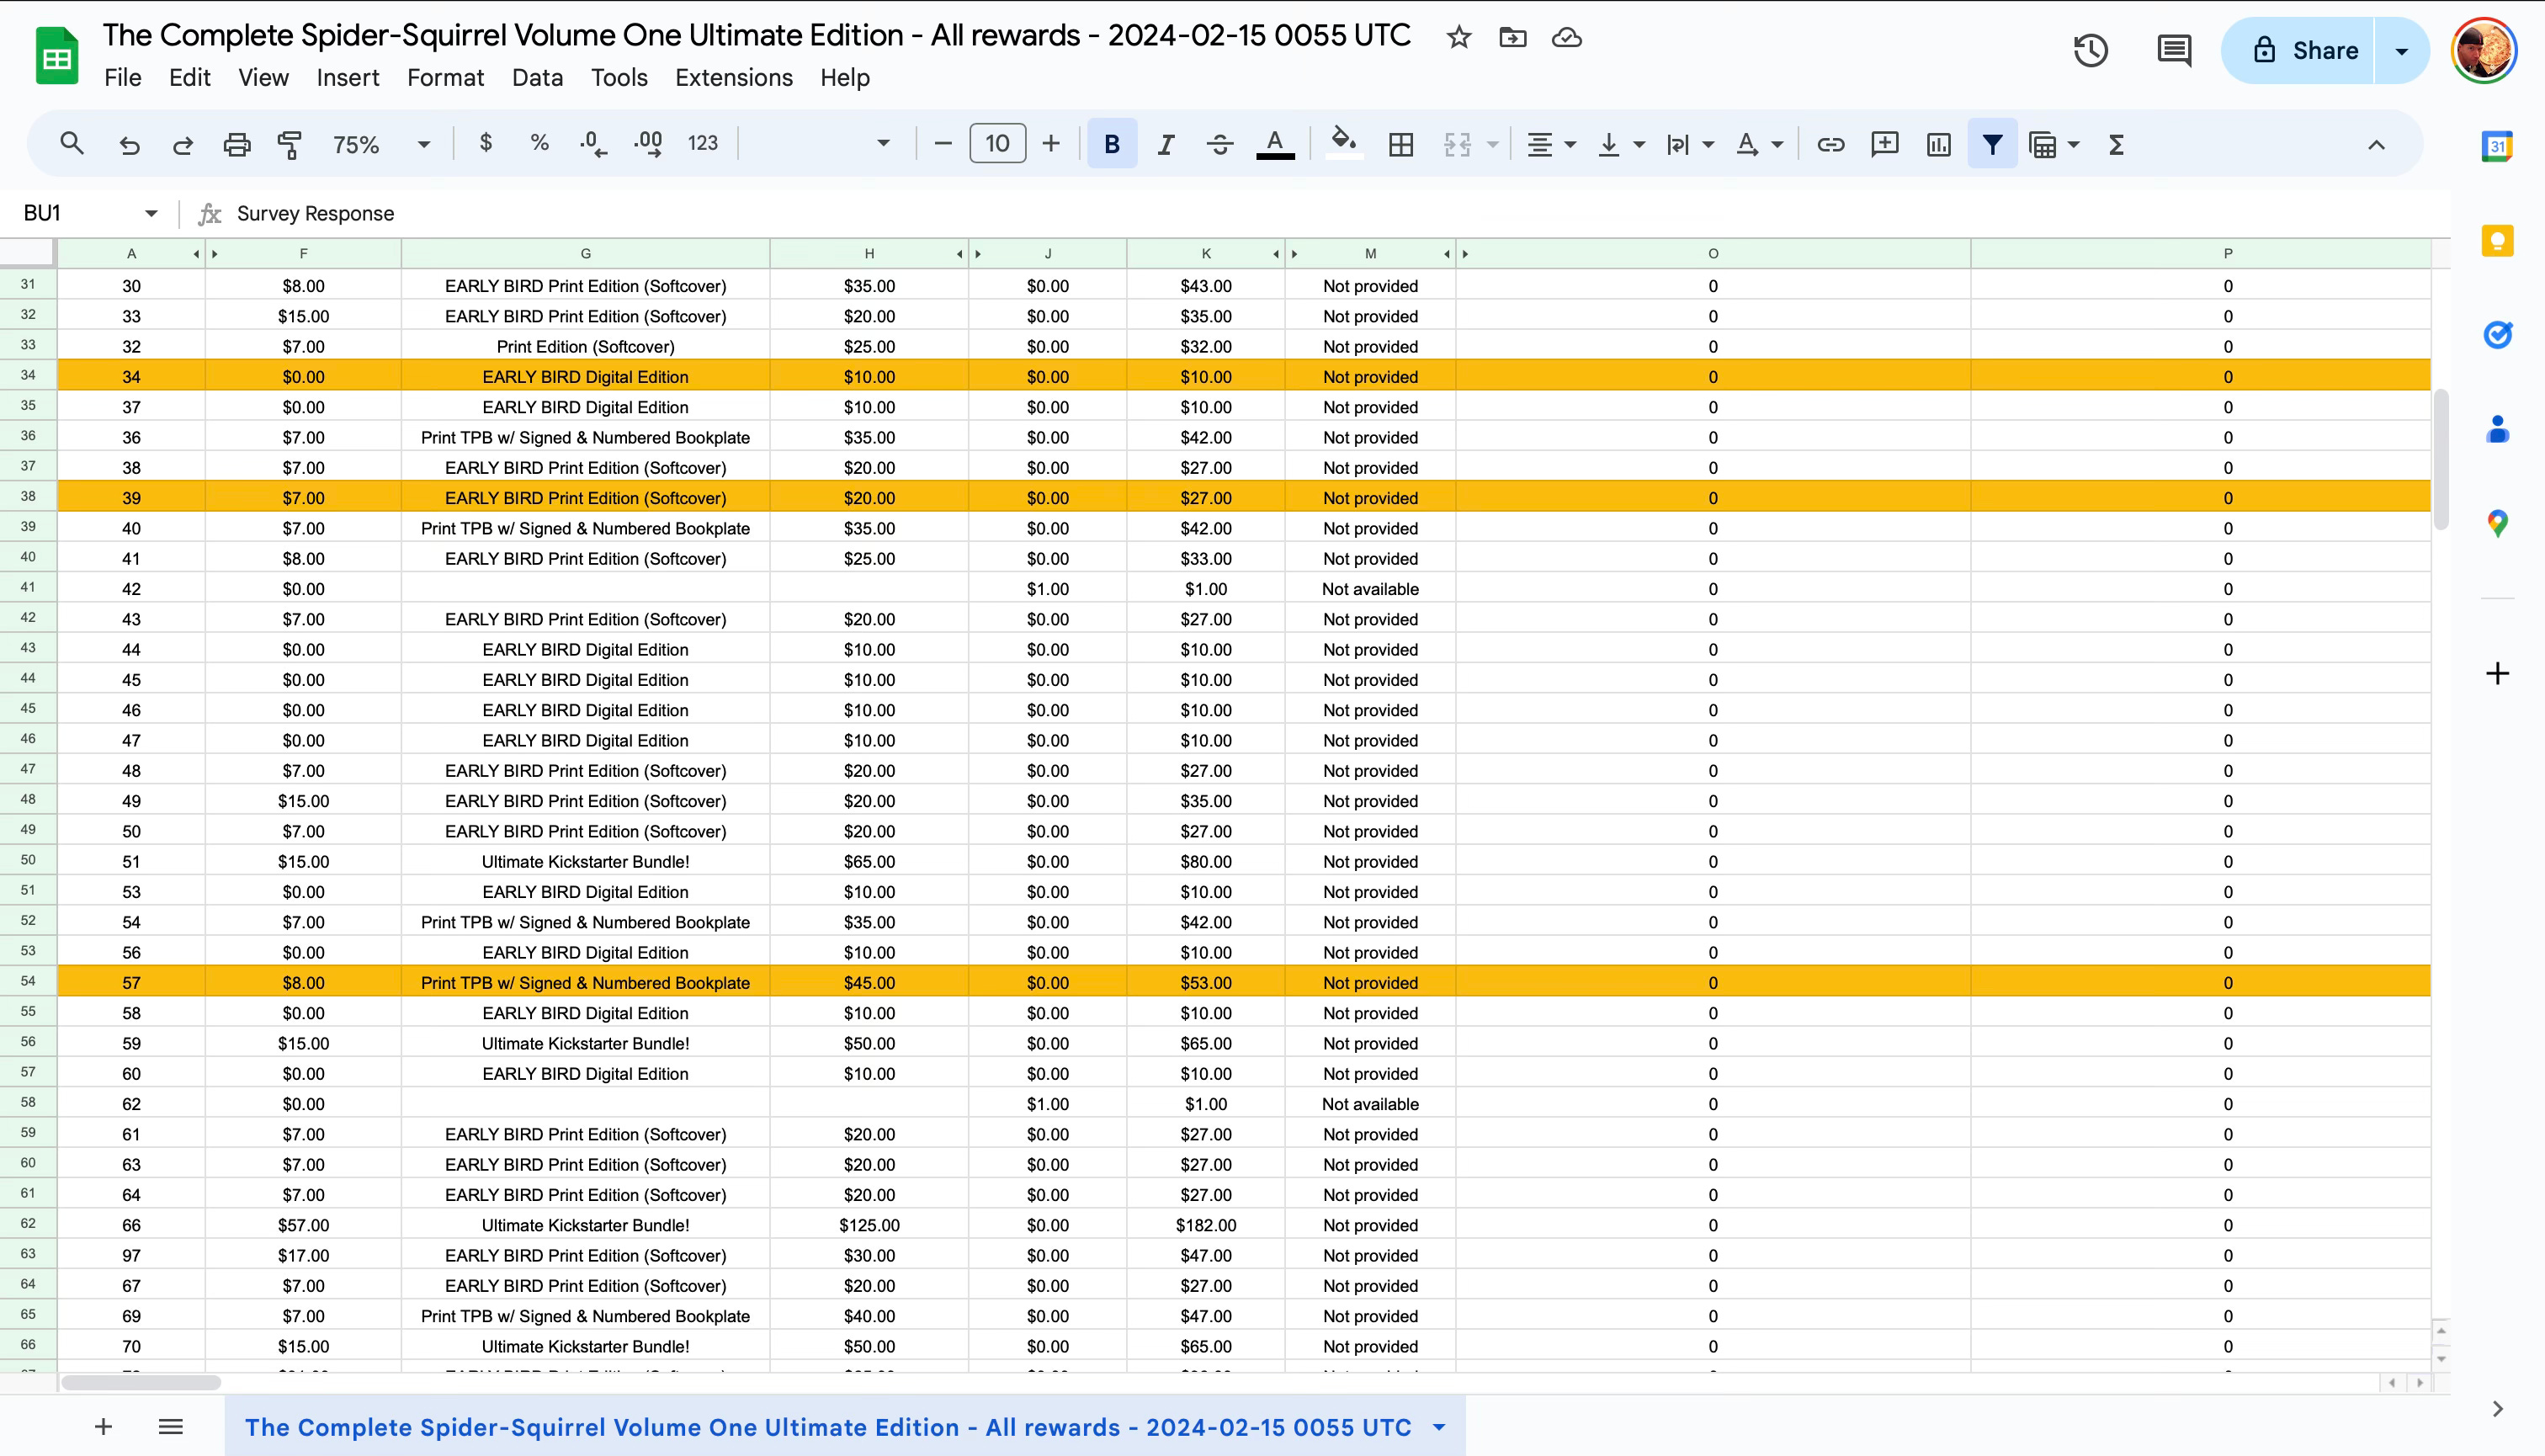
Okay, at this point, I’m generally ready to get to work. The first thing I do is use a conditional format to highlight any Backers with incomplete Surveys — this is so I can go back and message them individually and encourage completion.
Navigate over to your Survey Response column and use the filter dropdown to show only those with Blanks in the completion data. These are the Backers who’ve not completed their survey for one reason or another. Some chose No Reward, so you can go ahead and hide those rows if you want. Everyone else can be messaged privately. For my sake, I highlight every Backer row that is now filtered with no completed survey.
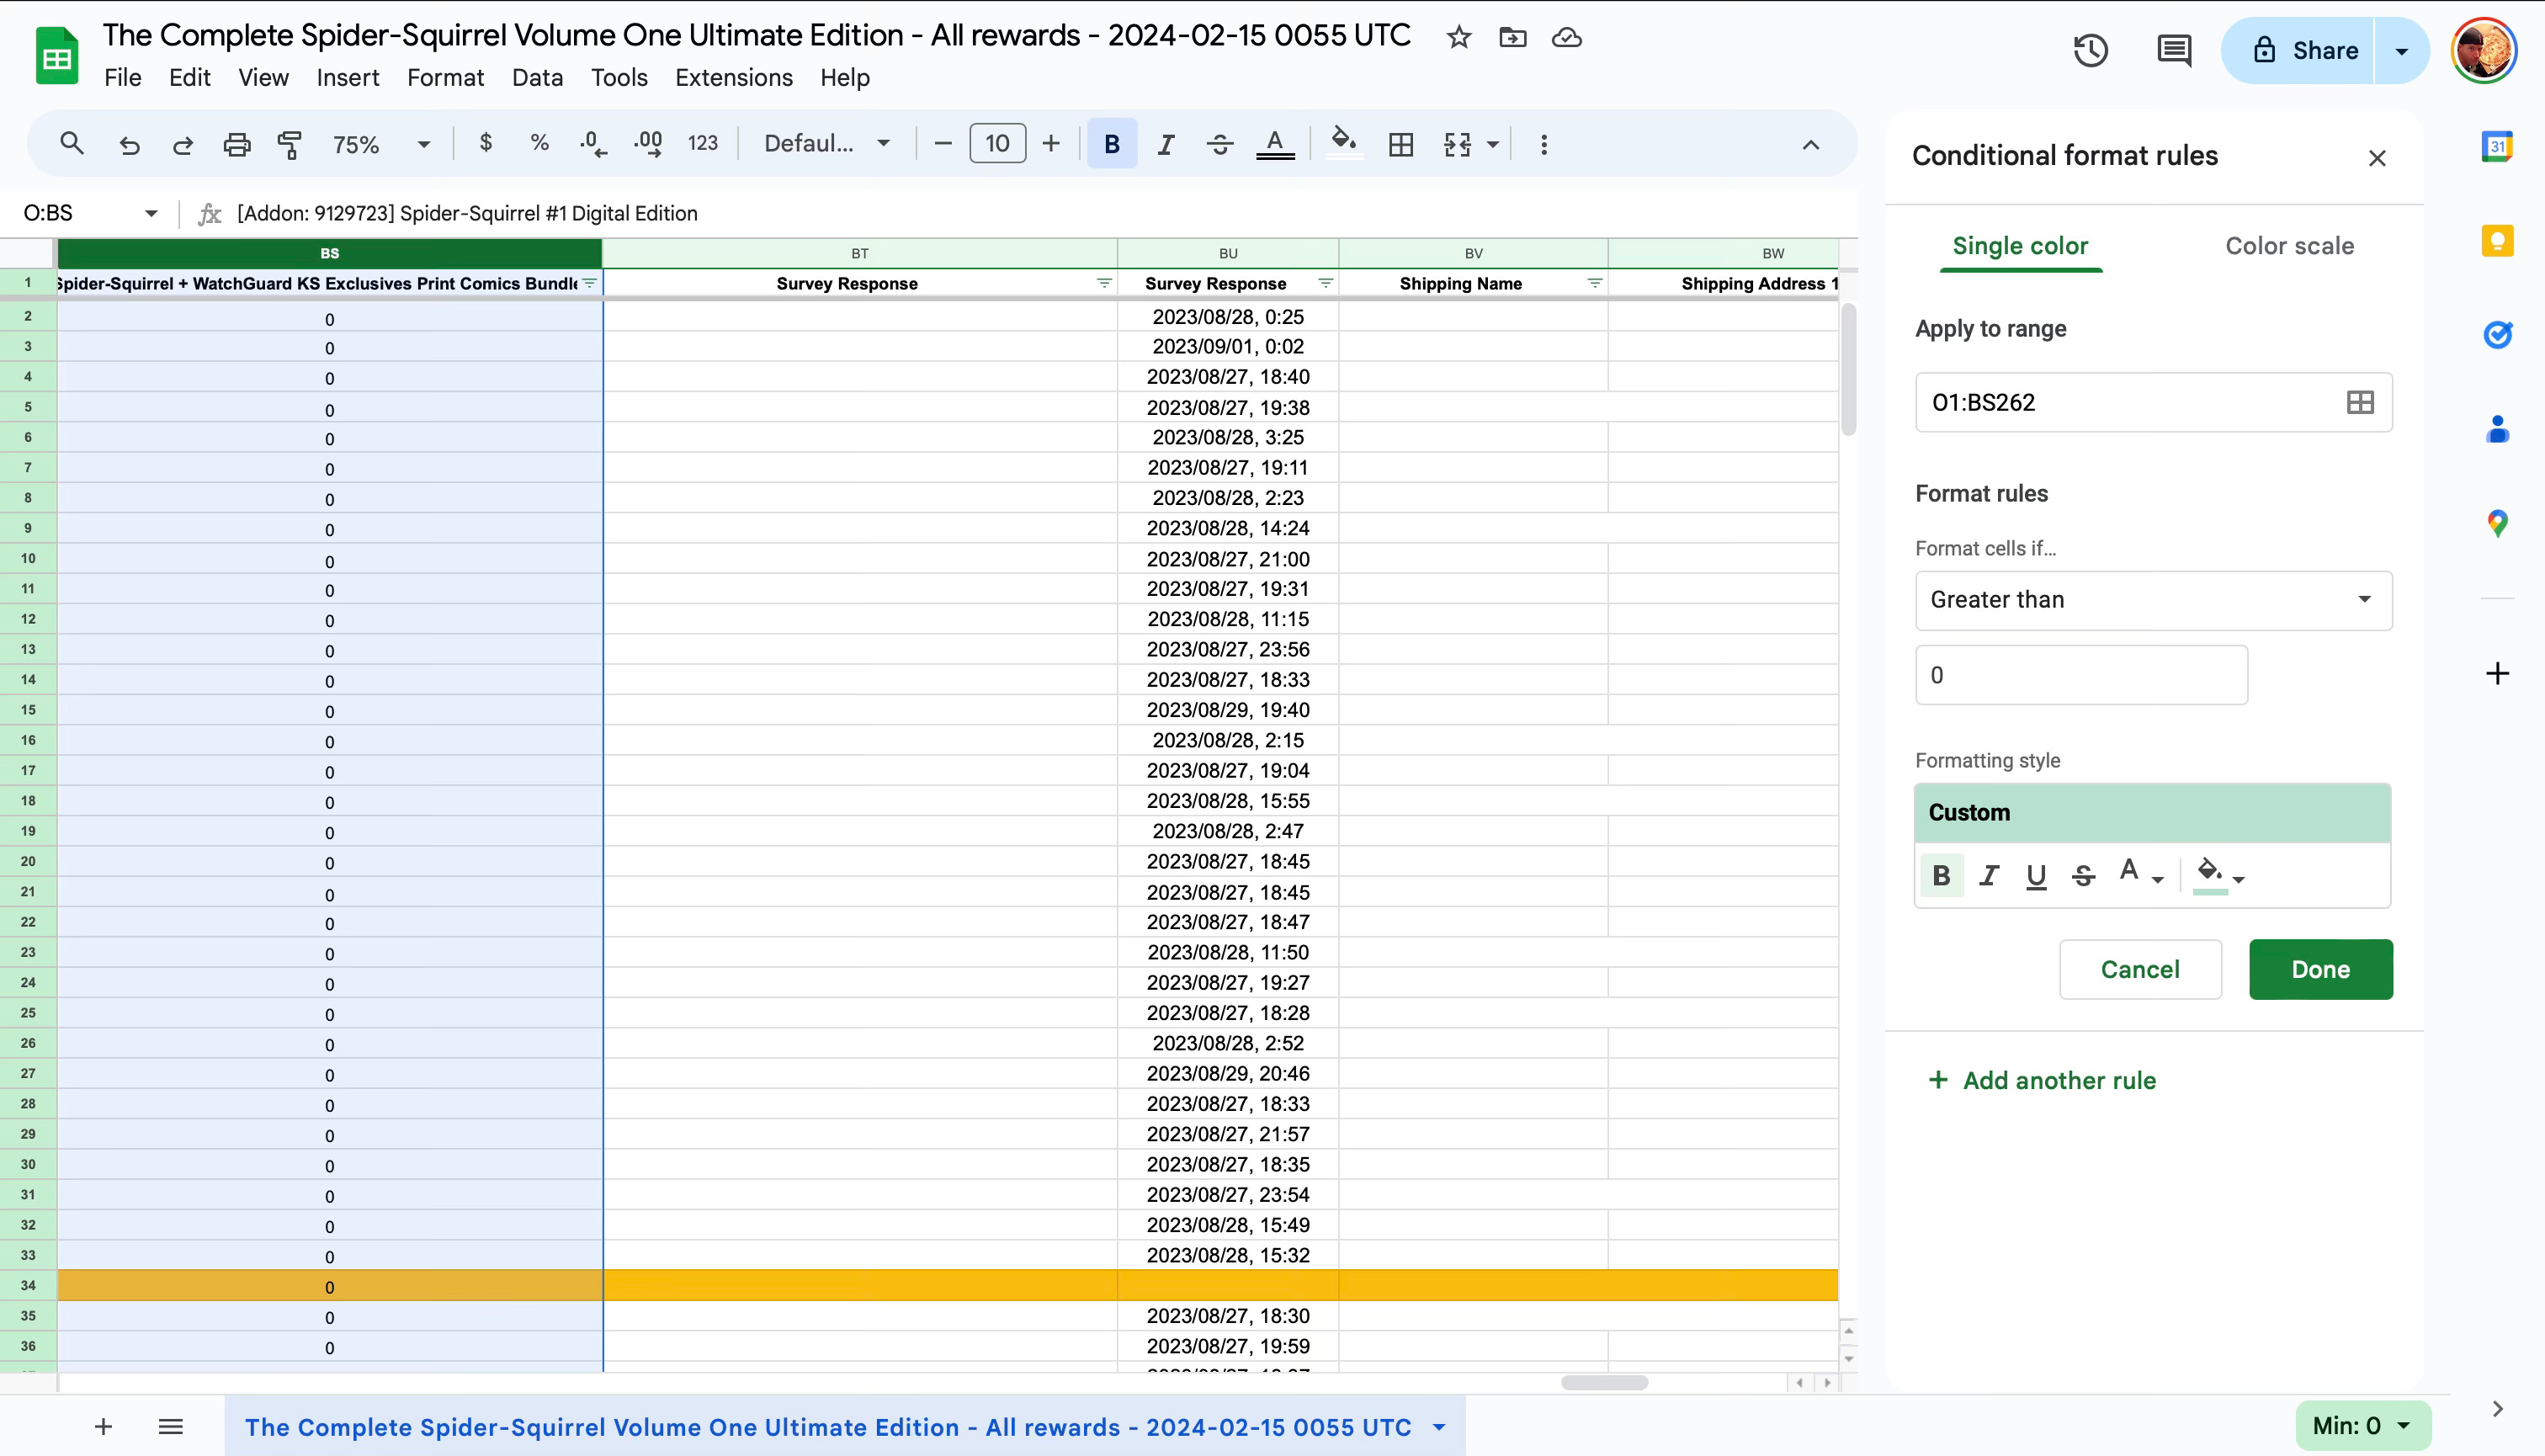
The next bit of formatting I do before I start packing & shipping is to navigate over to the columns of Rewards and Items and create a conditional format that better highlights what Backers are getting. I selected all of these columns (Add-Ons, Rewards, Items) and then clicked Format > Conditional Formatting, and then completed the info on the right of this screenshot.
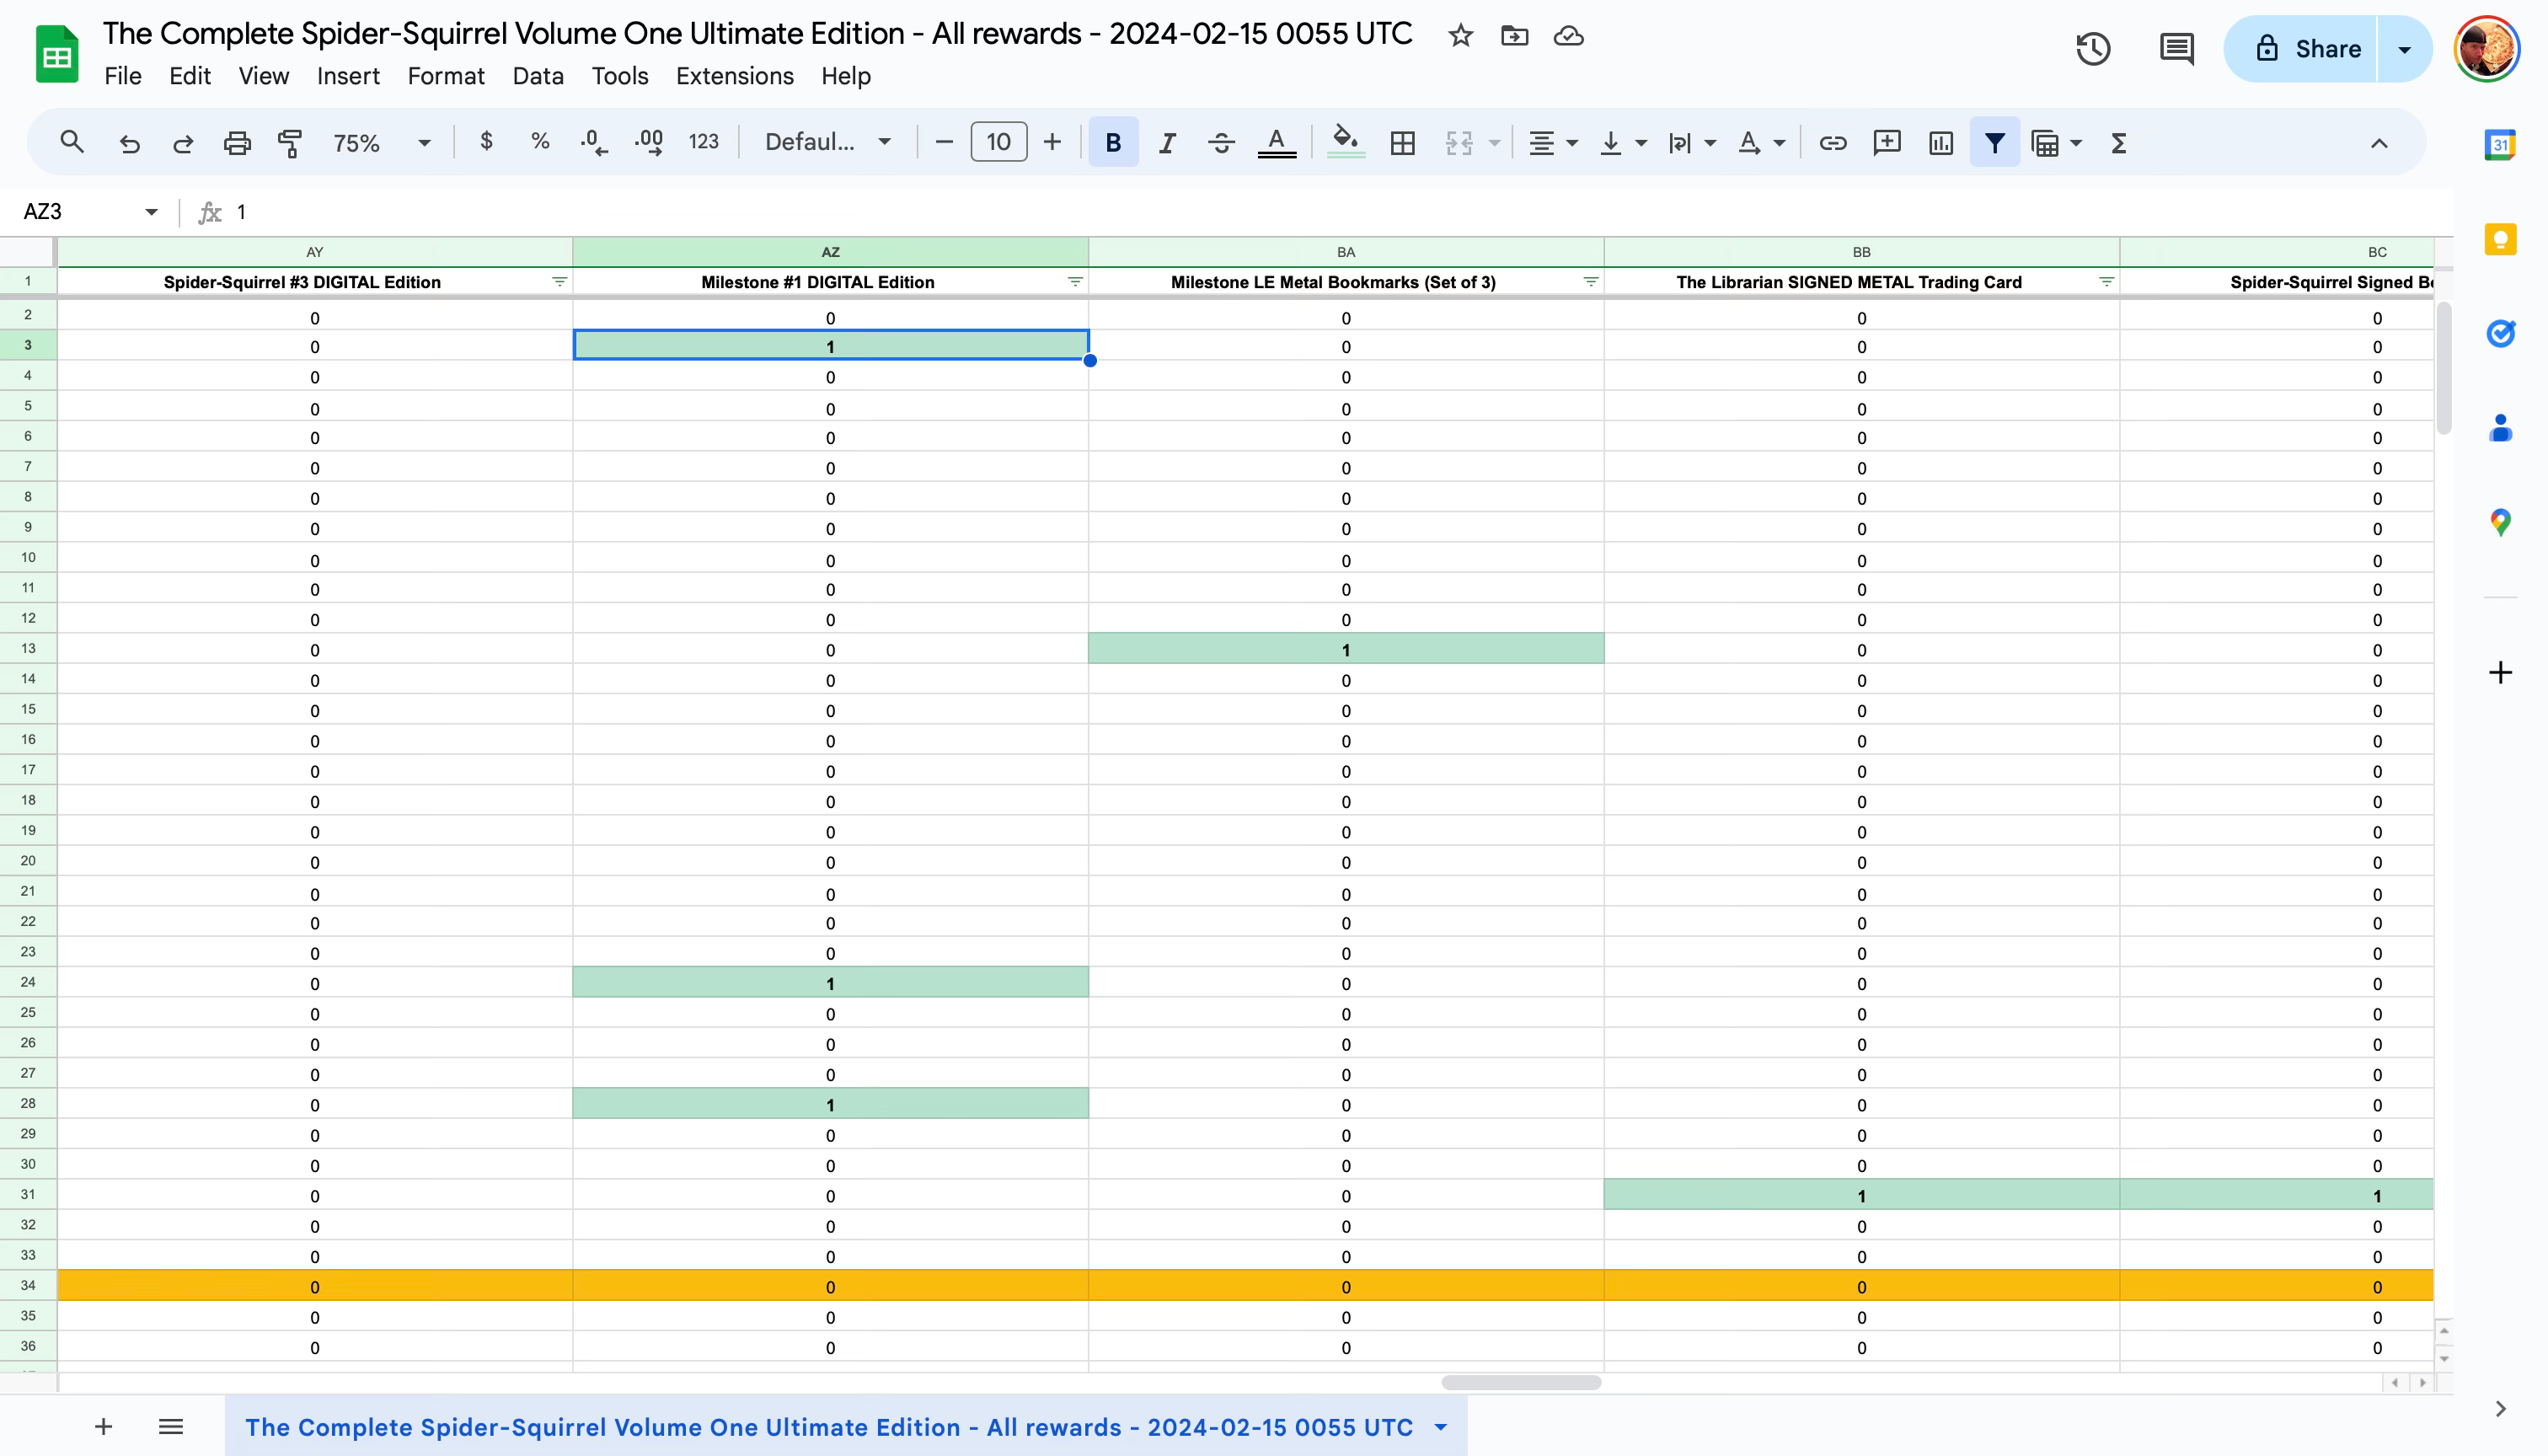
Voilá! Now I can easily scroll across and see what Backers are getting in their packages.
Now, we’re ready to fulfill!!
Using filters to create package groups
Now that you’re all set, use the Filters you created earlier for the top row and magically sort your Backers!
What I tend to do for this is select one of my Rewards via filter. For this exercise I chose my Print Edition (Softcover):
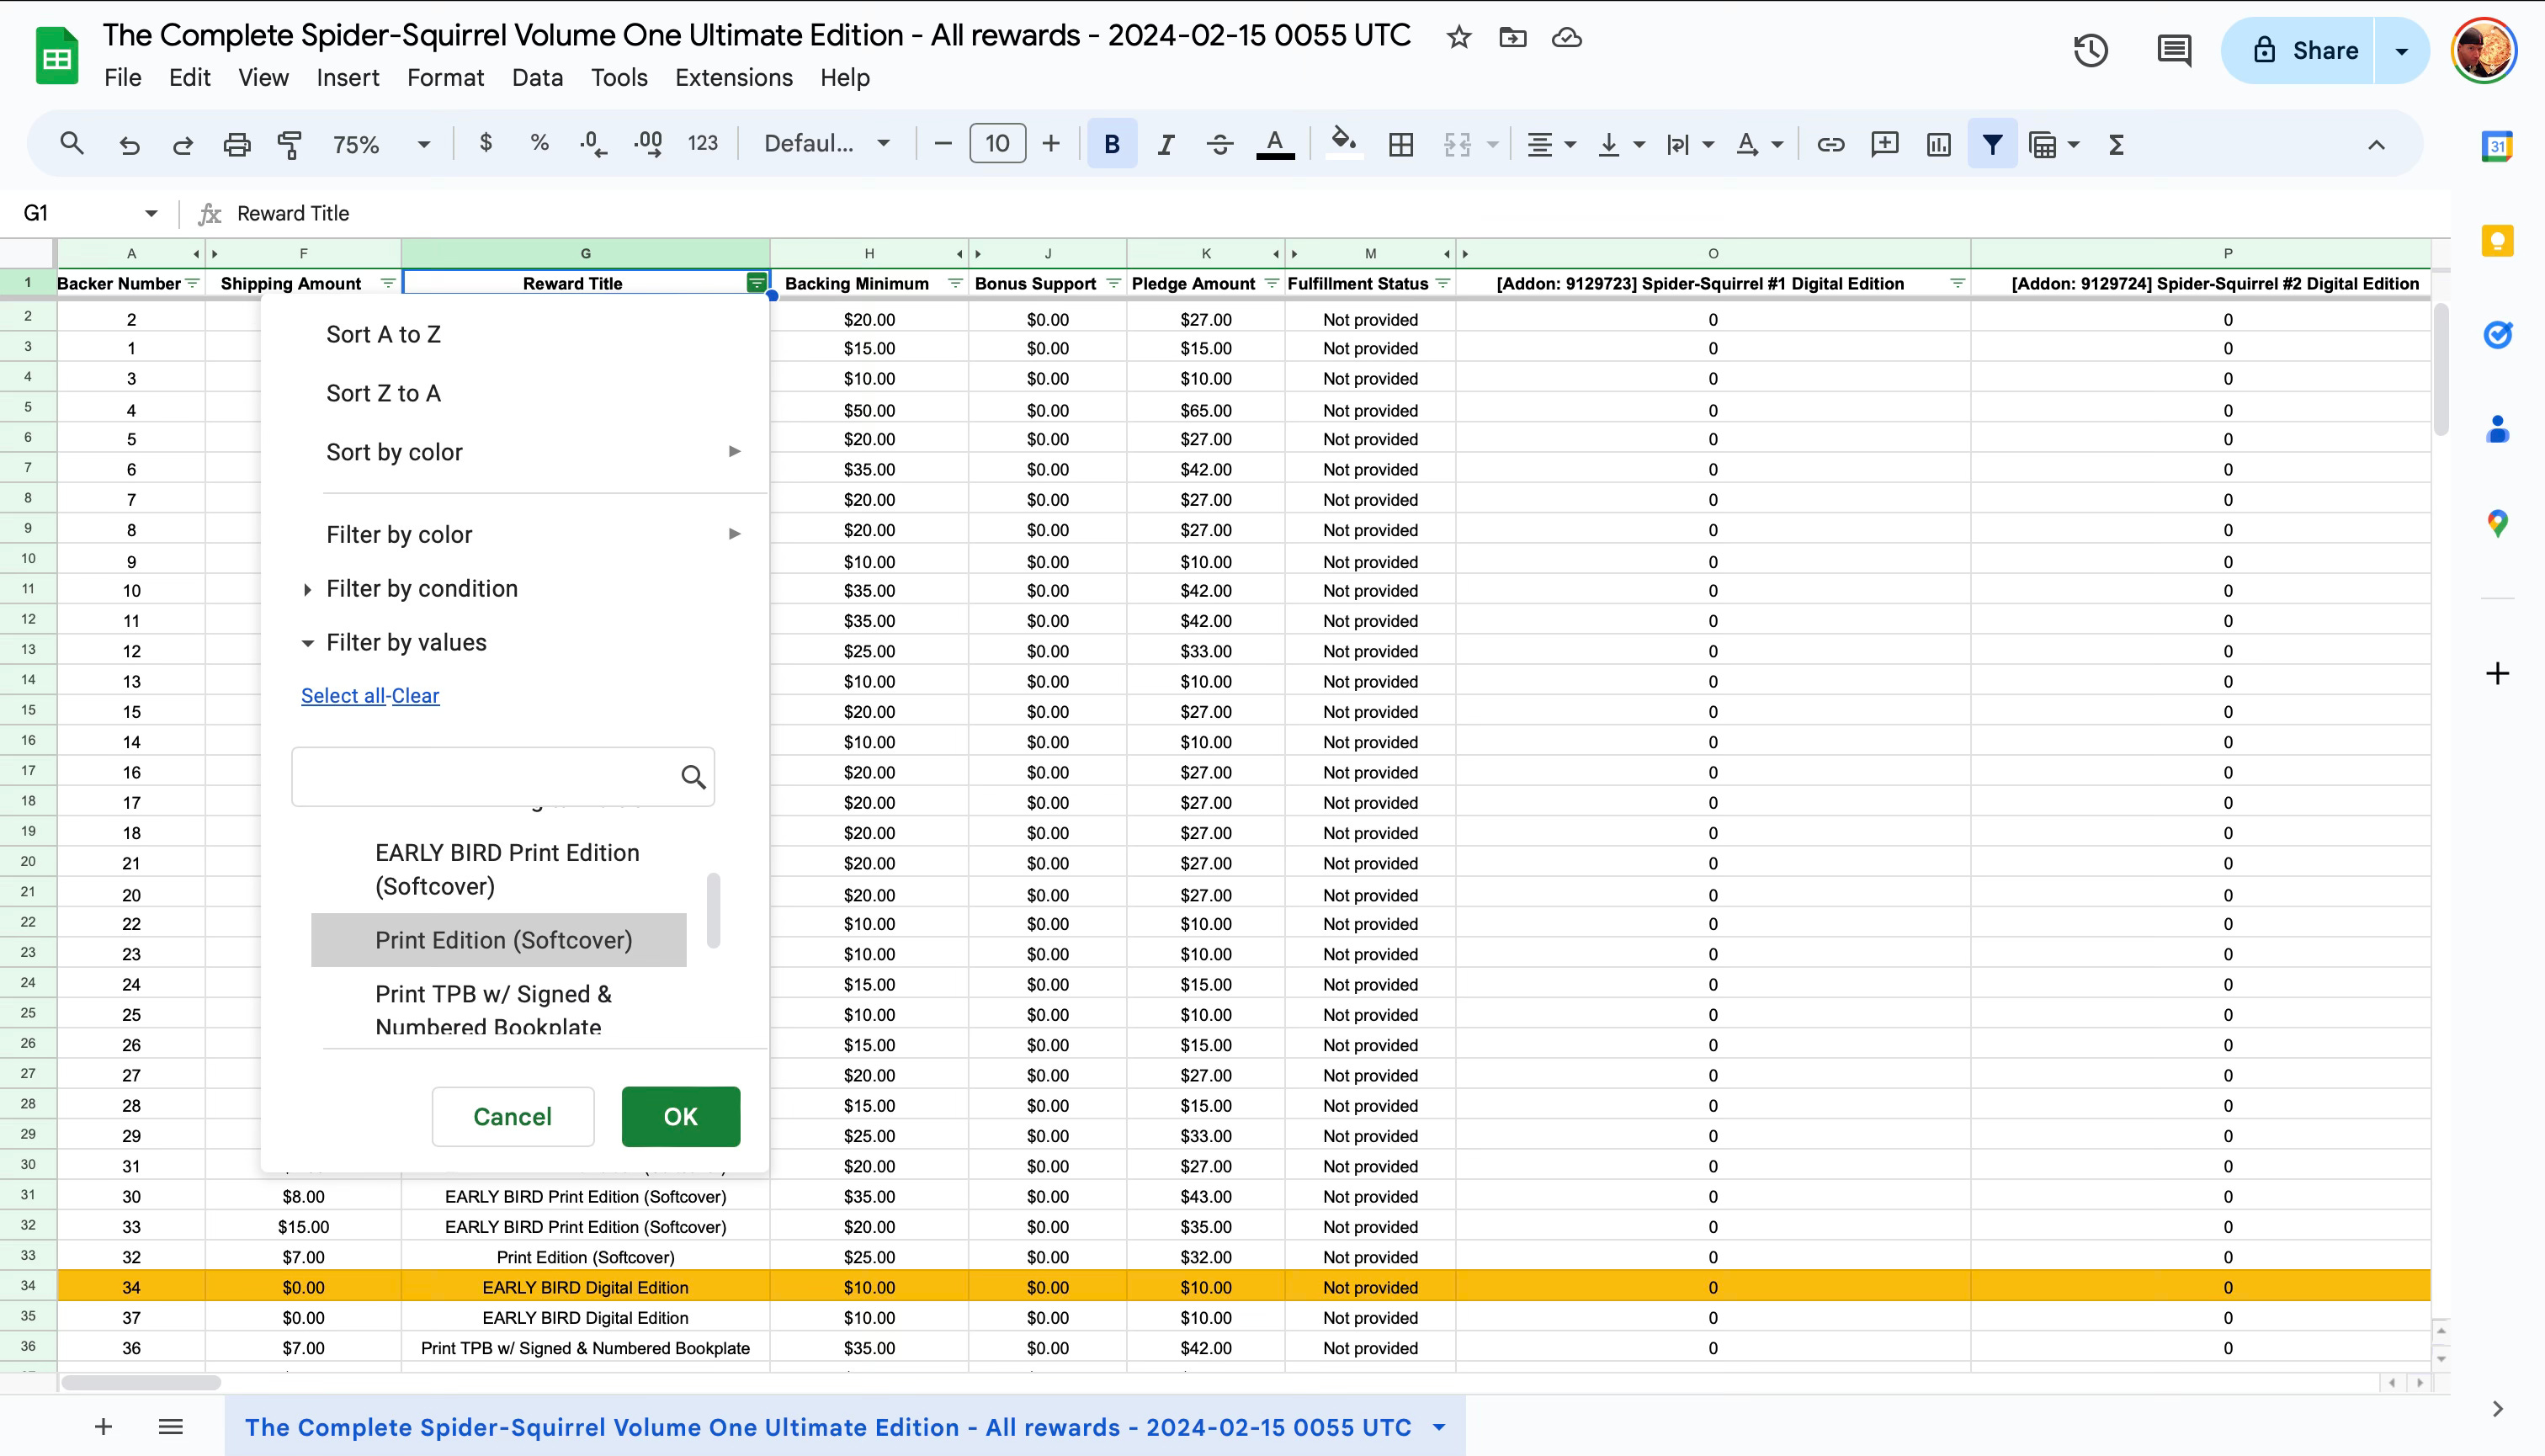
The result is still 48 Backers, and not everyone of them is getting the exact same items. I can choose more filters in the Add-ons, Items, or Rewards columns (I usually do this with the Items columns since that tells me what items they’re getting). I’ll choose The Librarian Metal Card add-on for this example. I’m only concerned with values greater than “0” so I’ll uncheck the “0” filter:
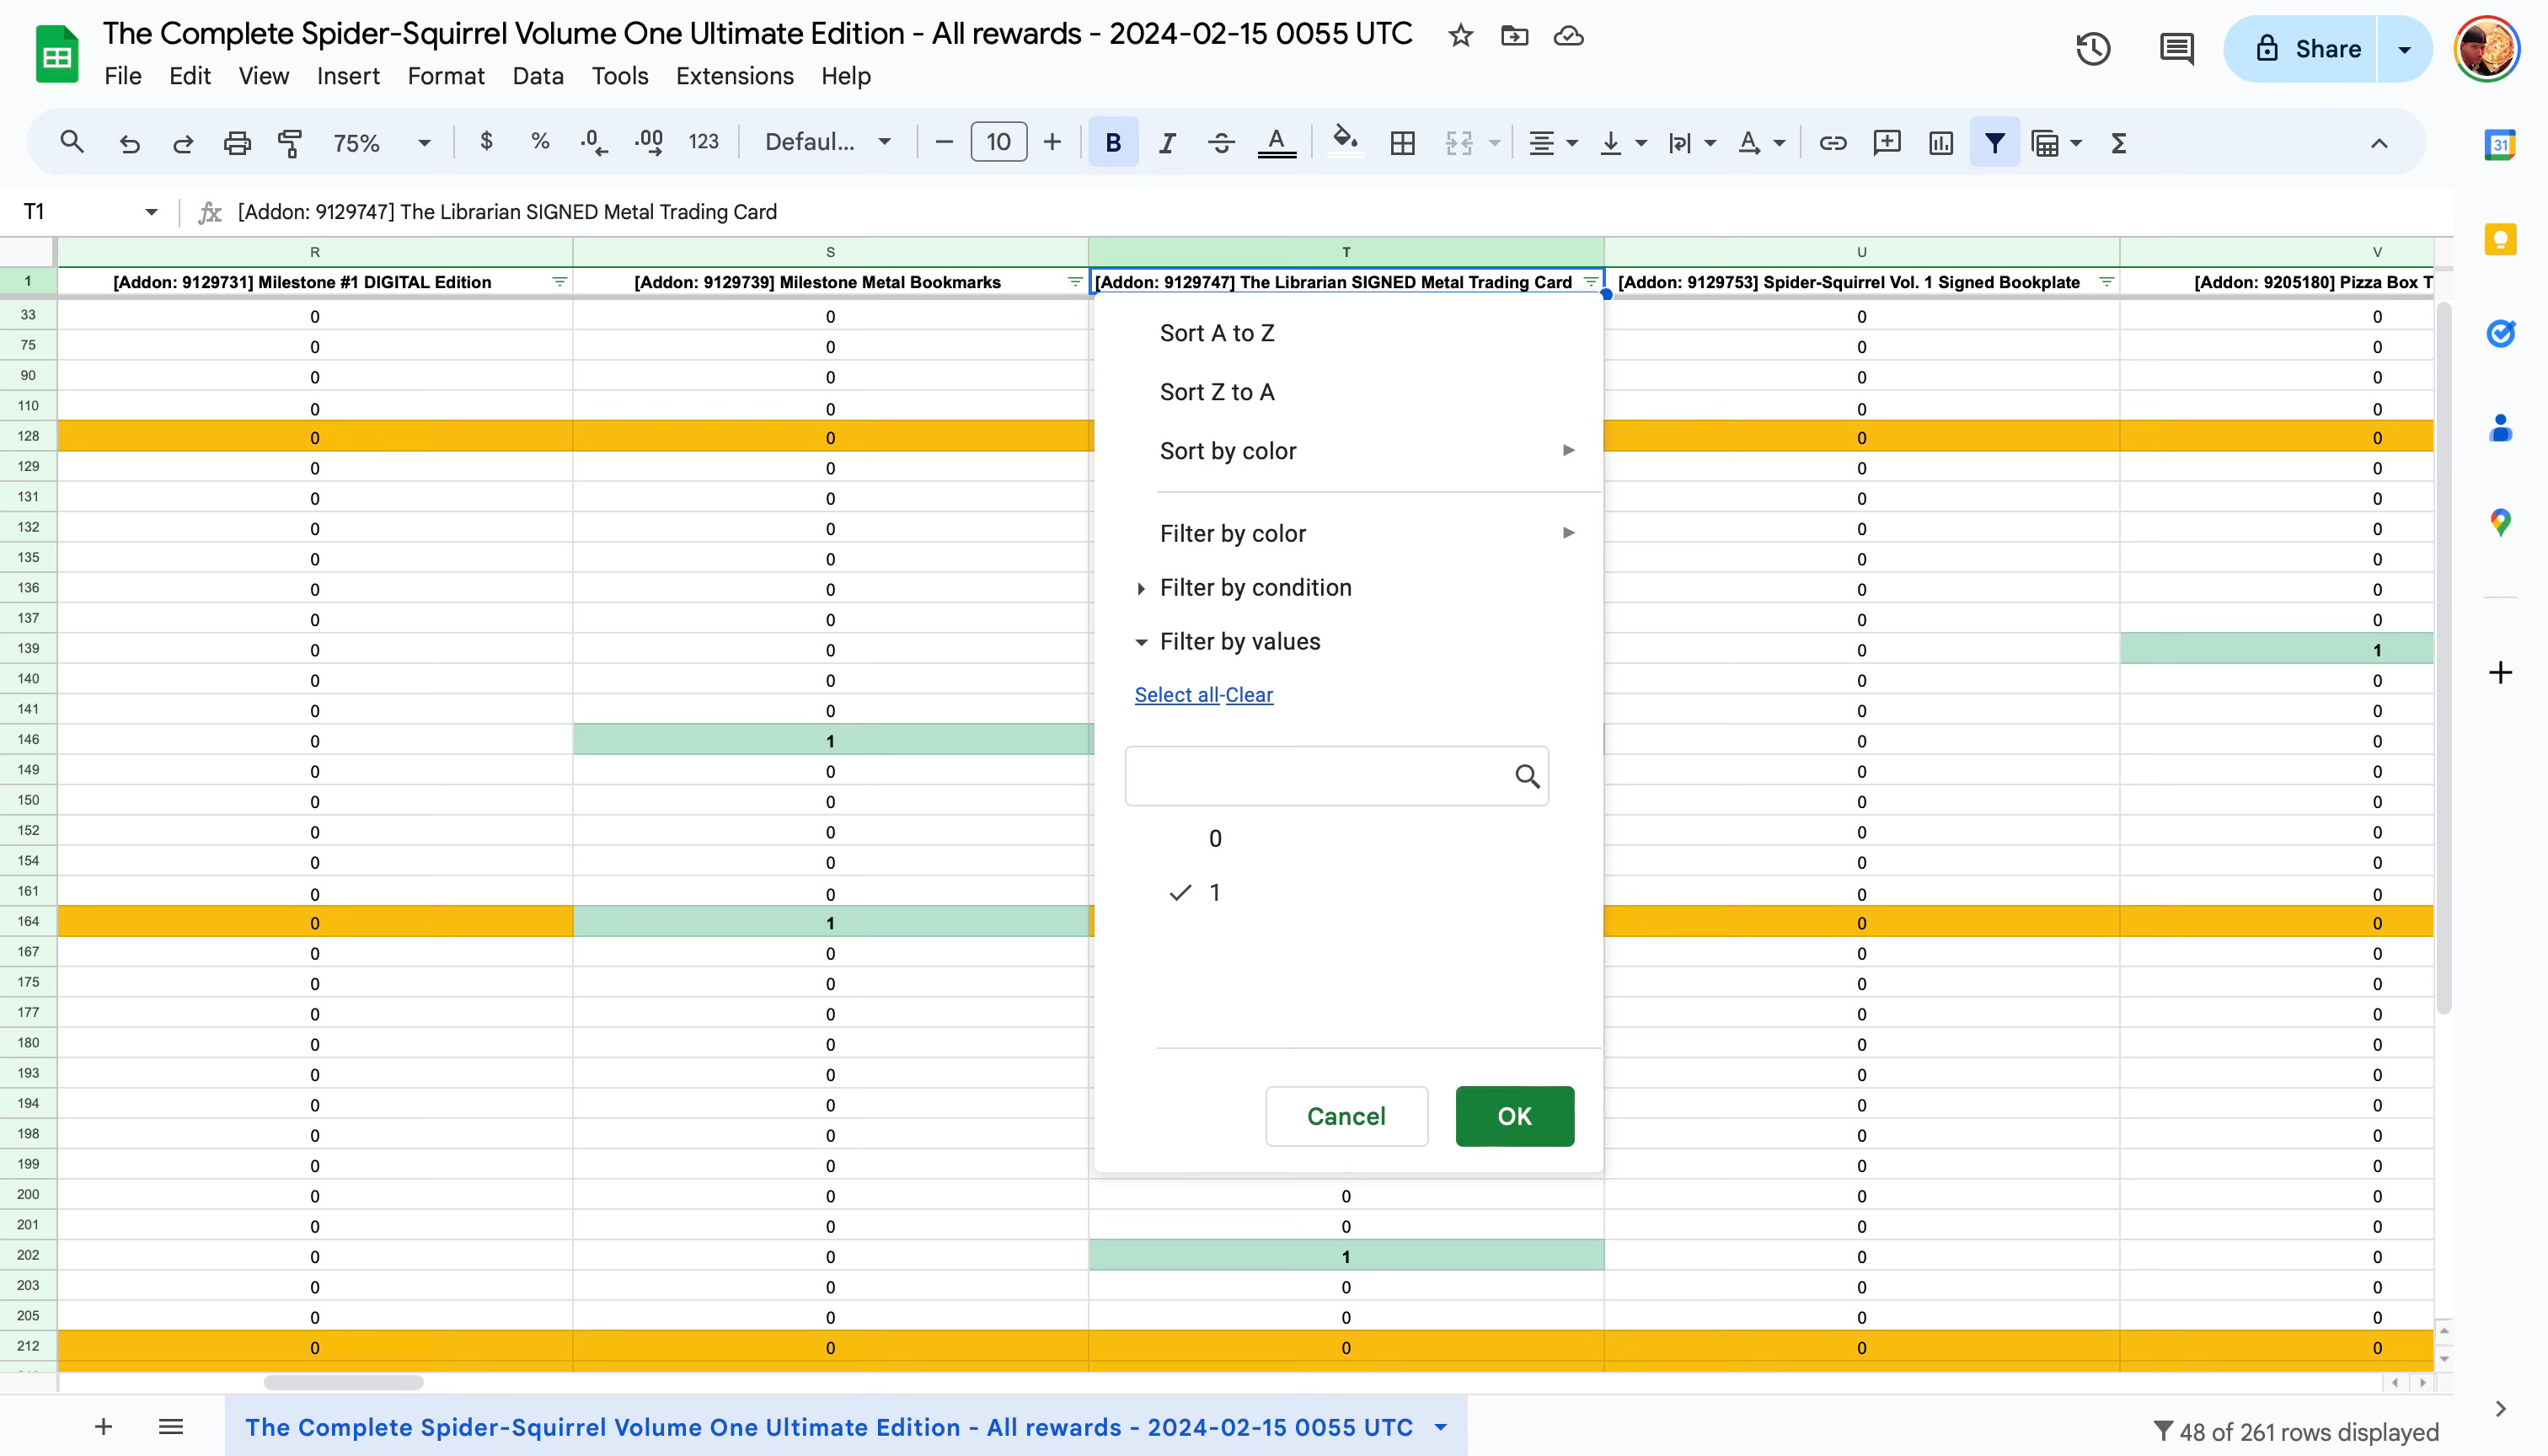
Boom. Narrowed this down to two Backers.

As you can see, you can sort & filter very easily and create package groups for yourself to fulfill against. Very helpful if you have a lot of items and want to do things in batches.
Now, once I have packed and labeled these, I’ll mark these completed by either doing a Strikethrough or change the row font color to a grey (or a combination). You can see in the screenshot the two Backers that I marked as “fulfilled” are greyed out and given a strikethrough. Helpful, right?
Hopefully this was useful for you. I find this a bit easier in Excel, but that may just be my natural familiarity with the tool.
Go, and fulfill!!
